ME93 - Design for Fabrication
In this ongoing course, I’m working on a variety of projects that combine creative design, technical skills, and hands-on problem solving. Below is an overview of each project.
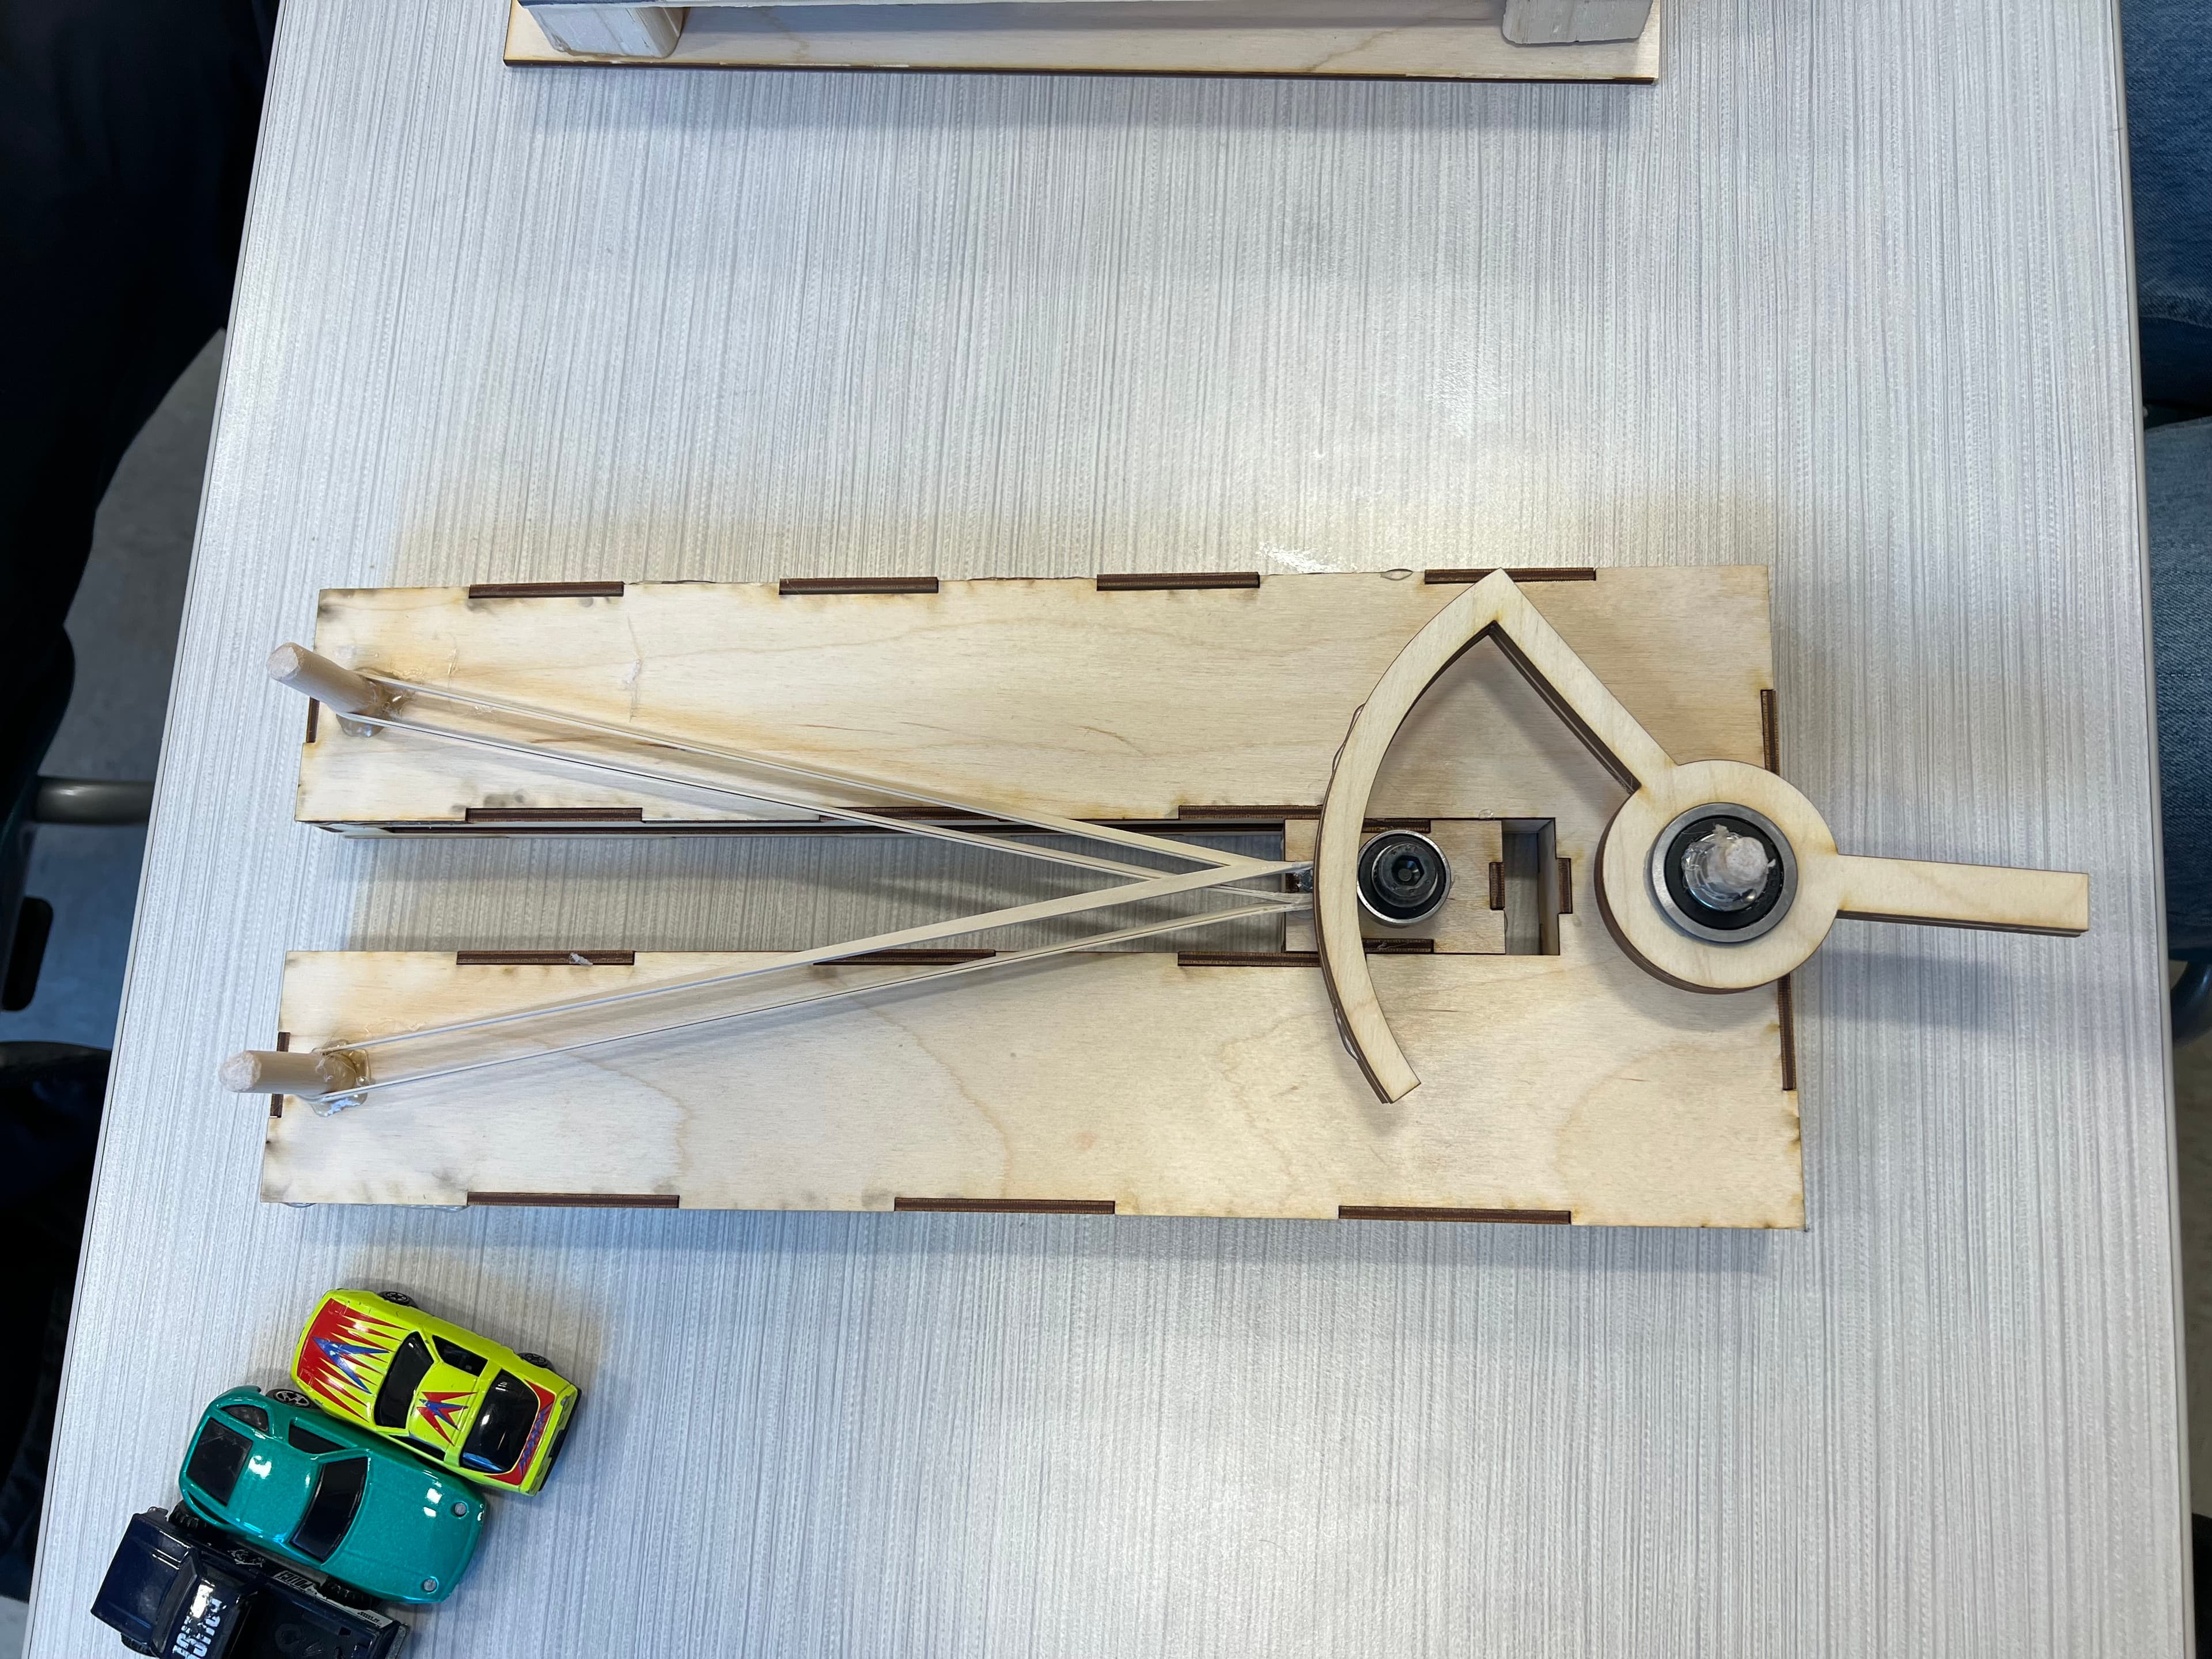
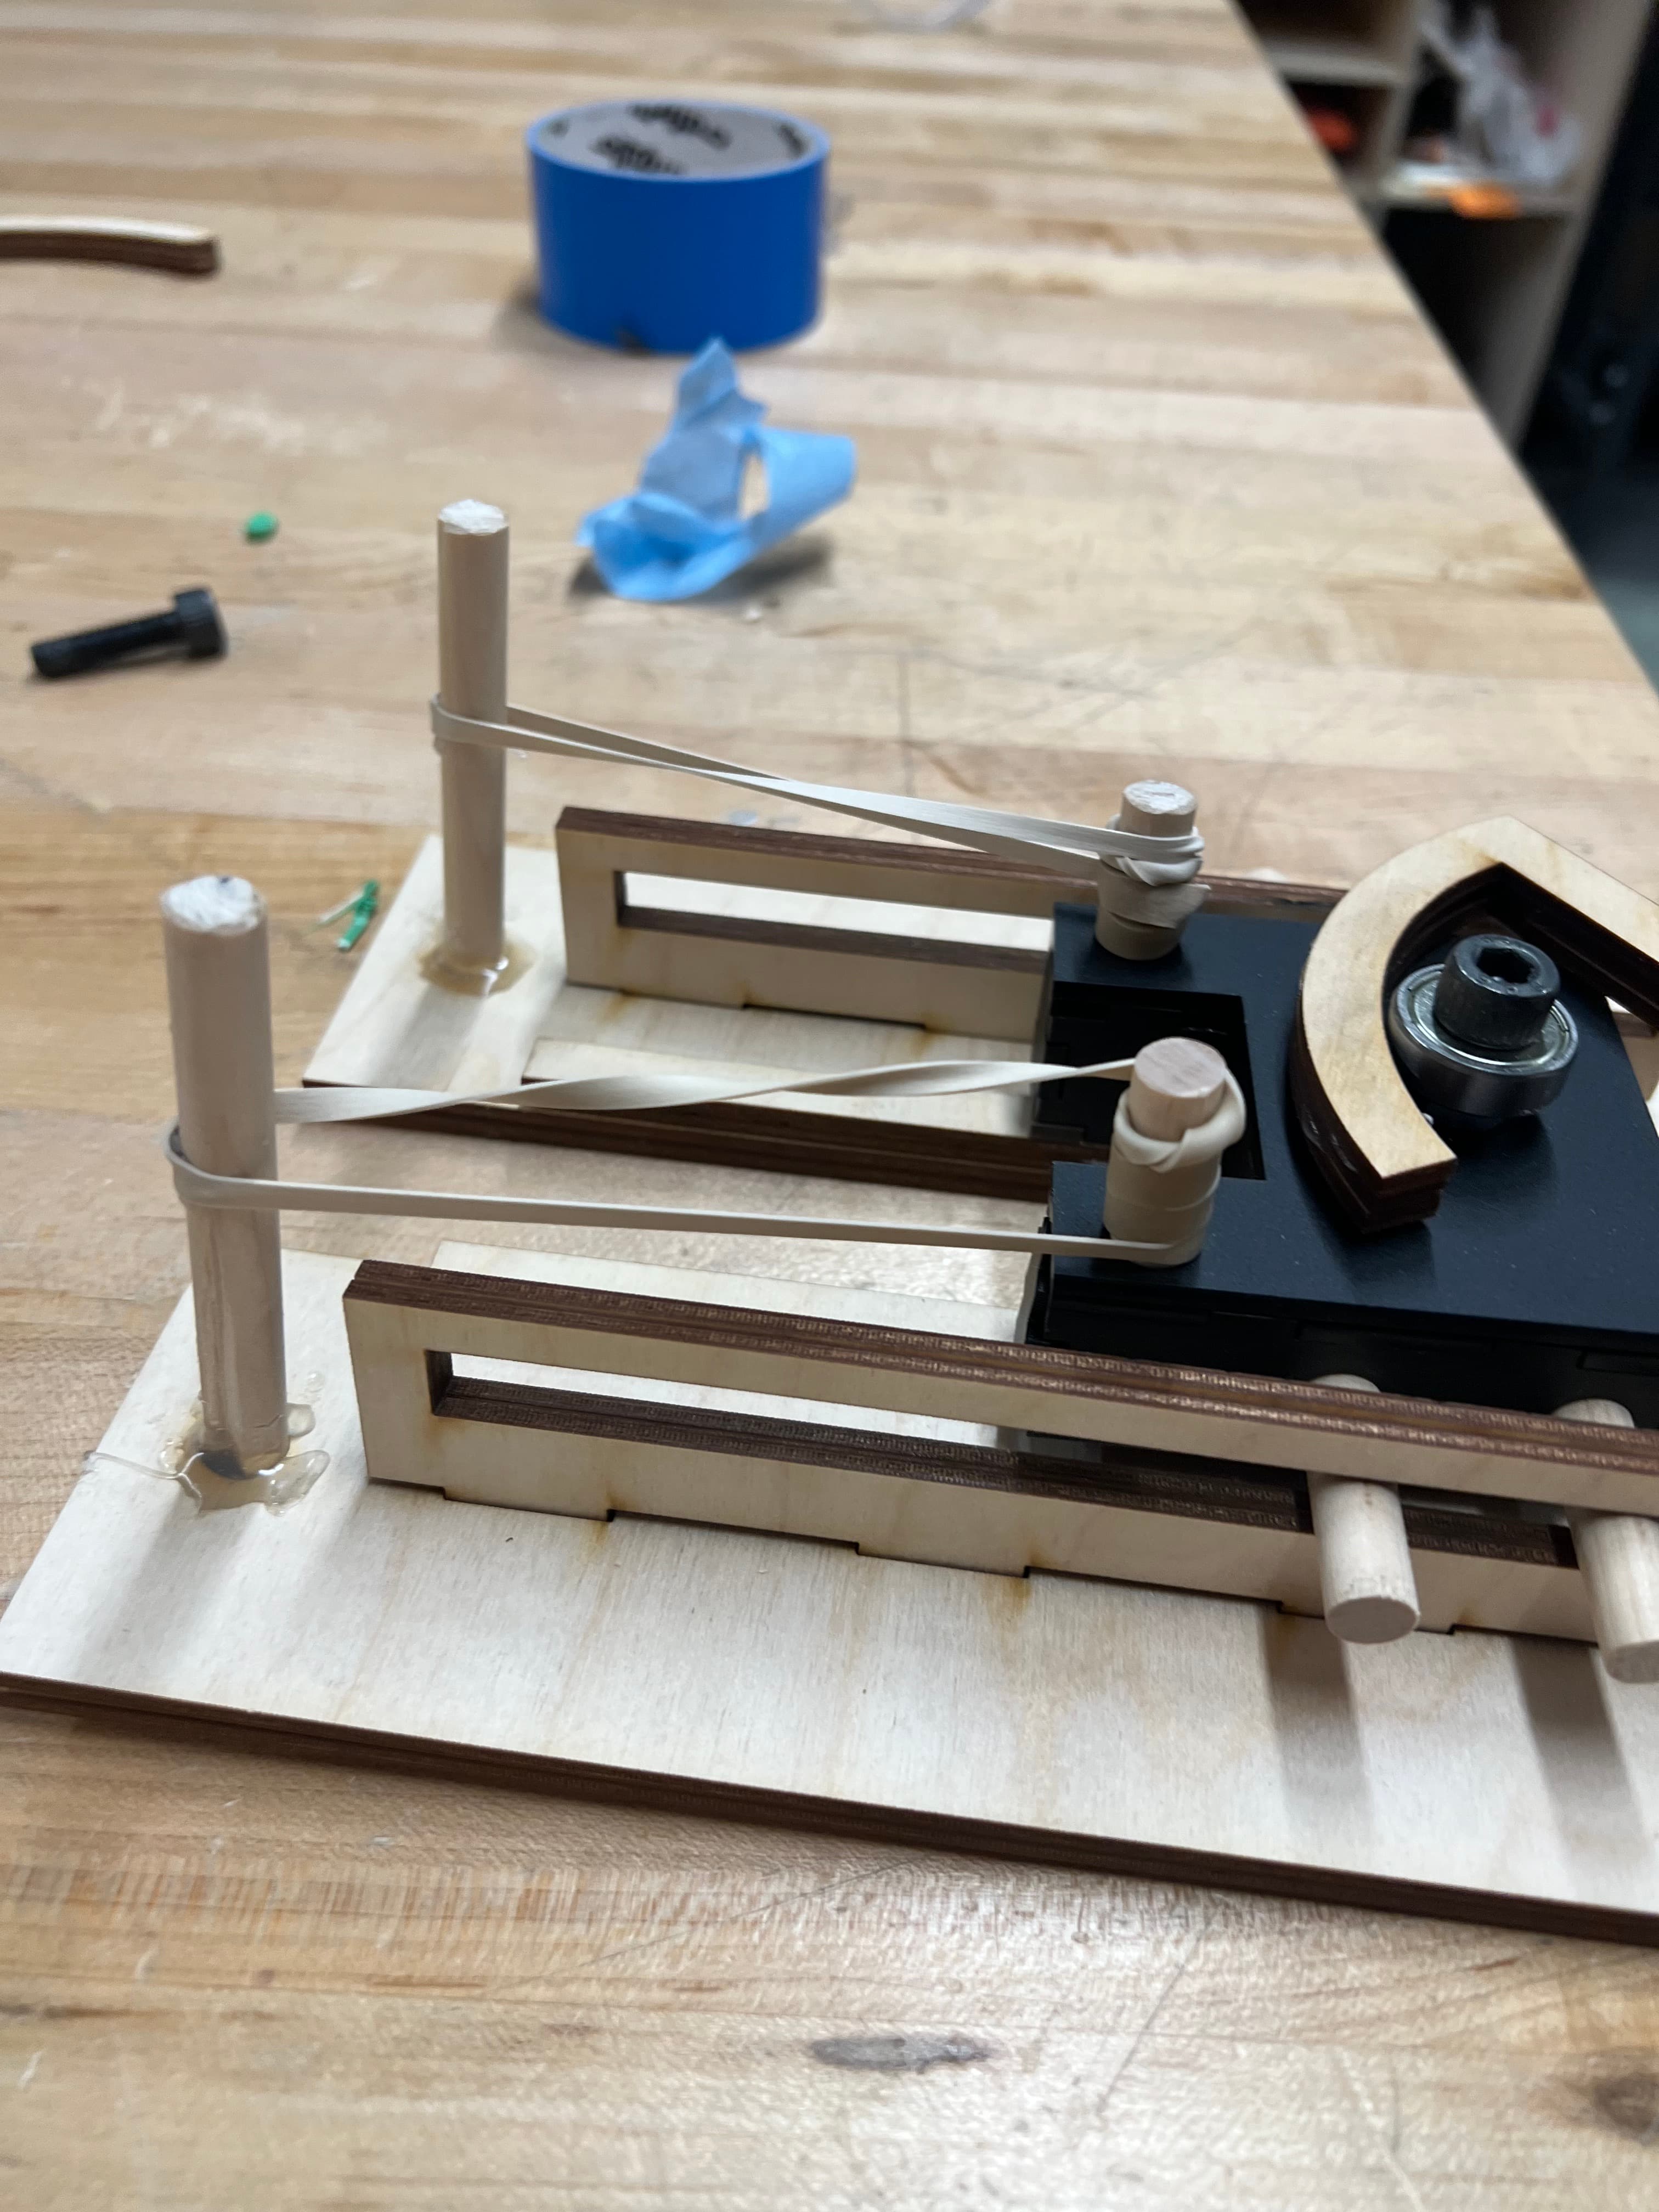
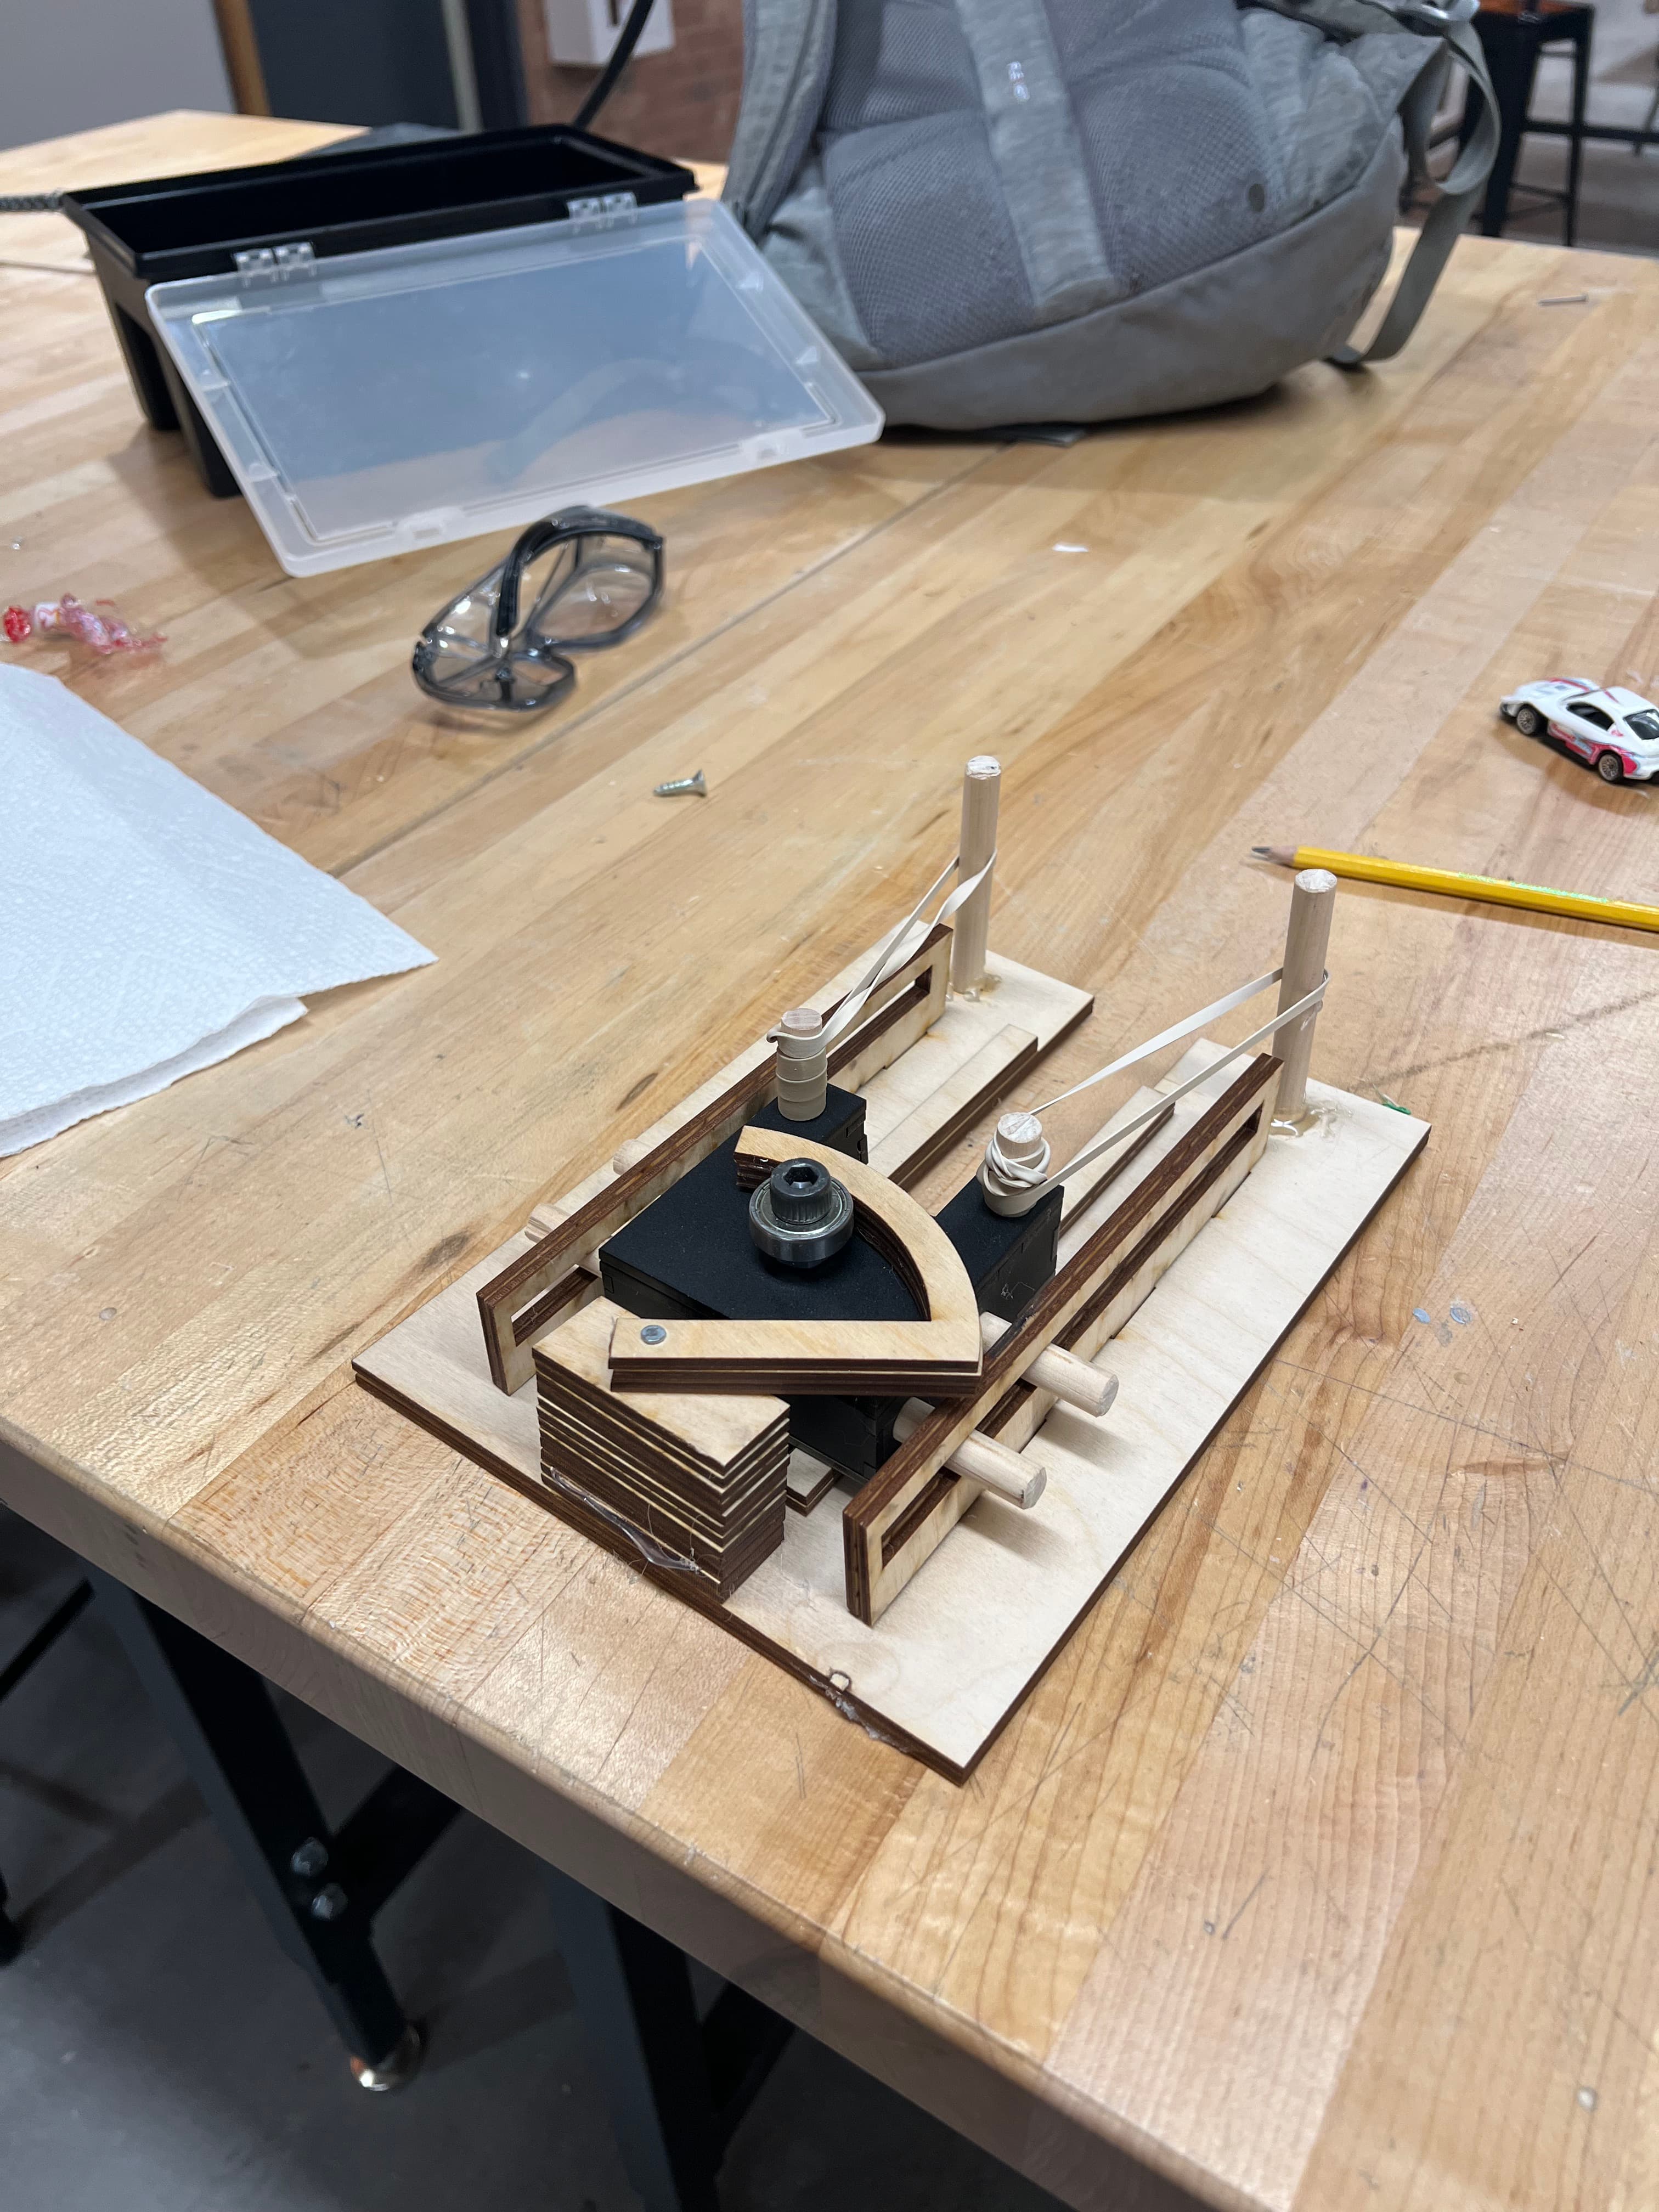
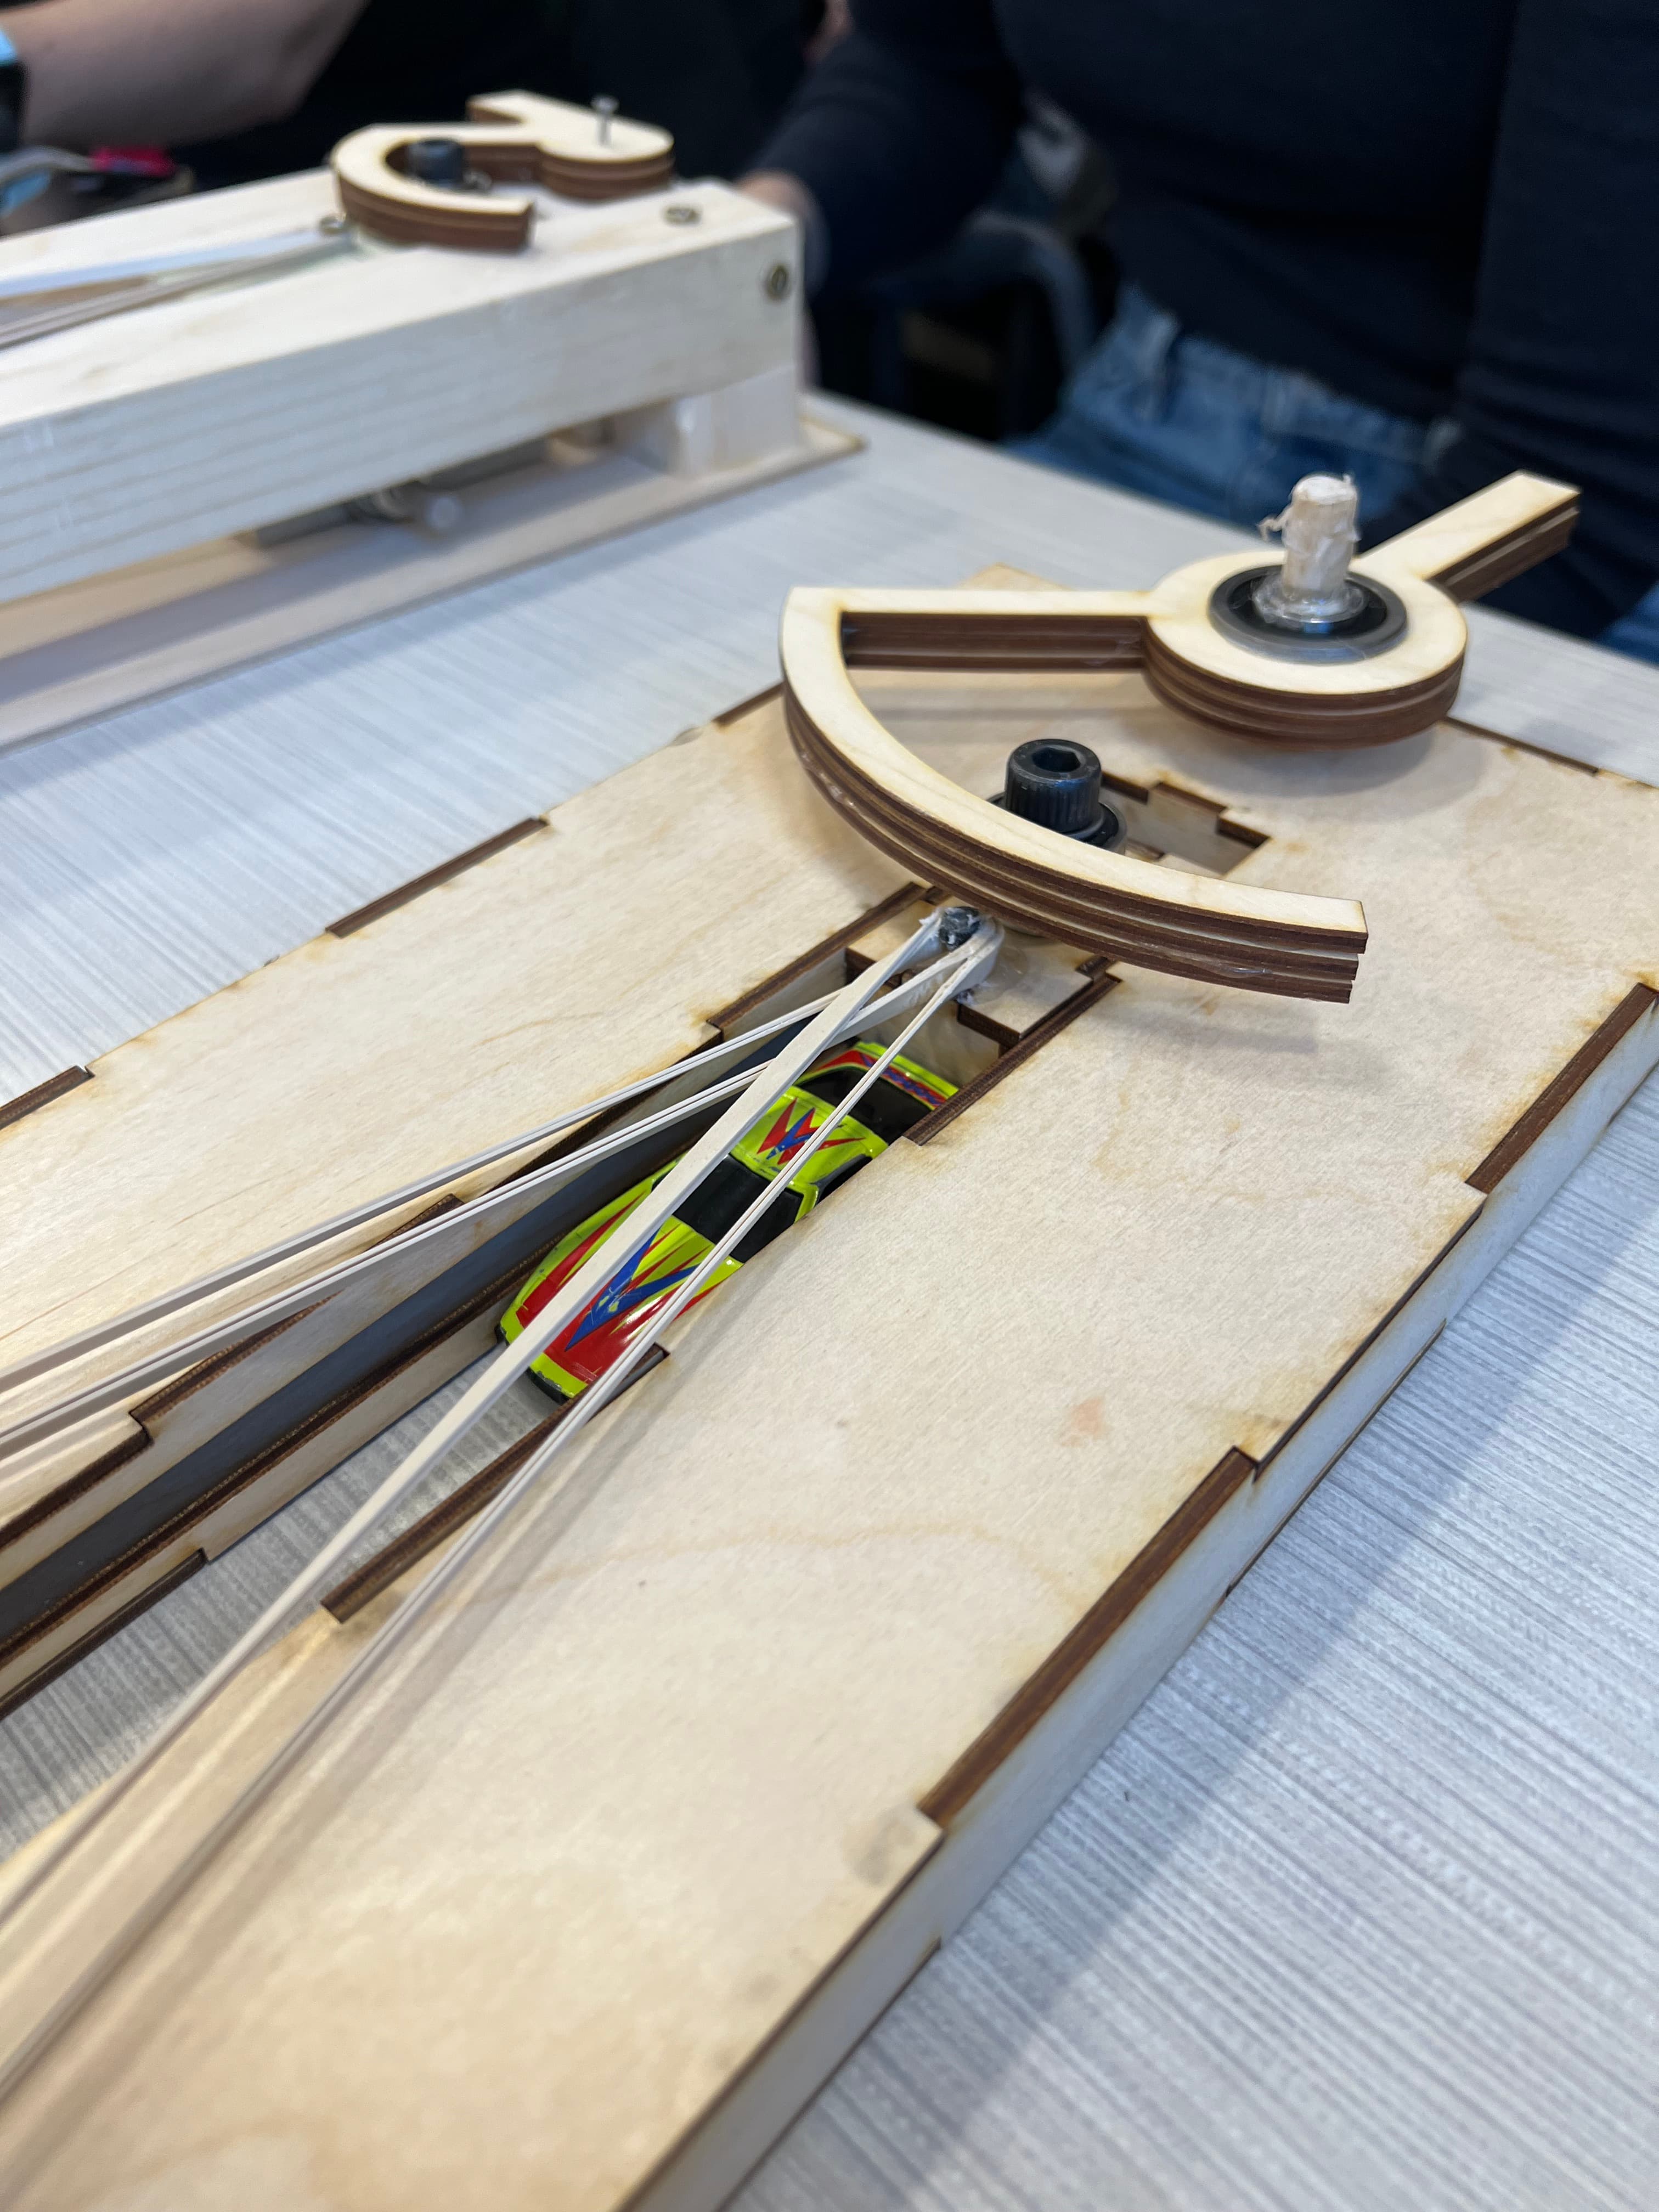
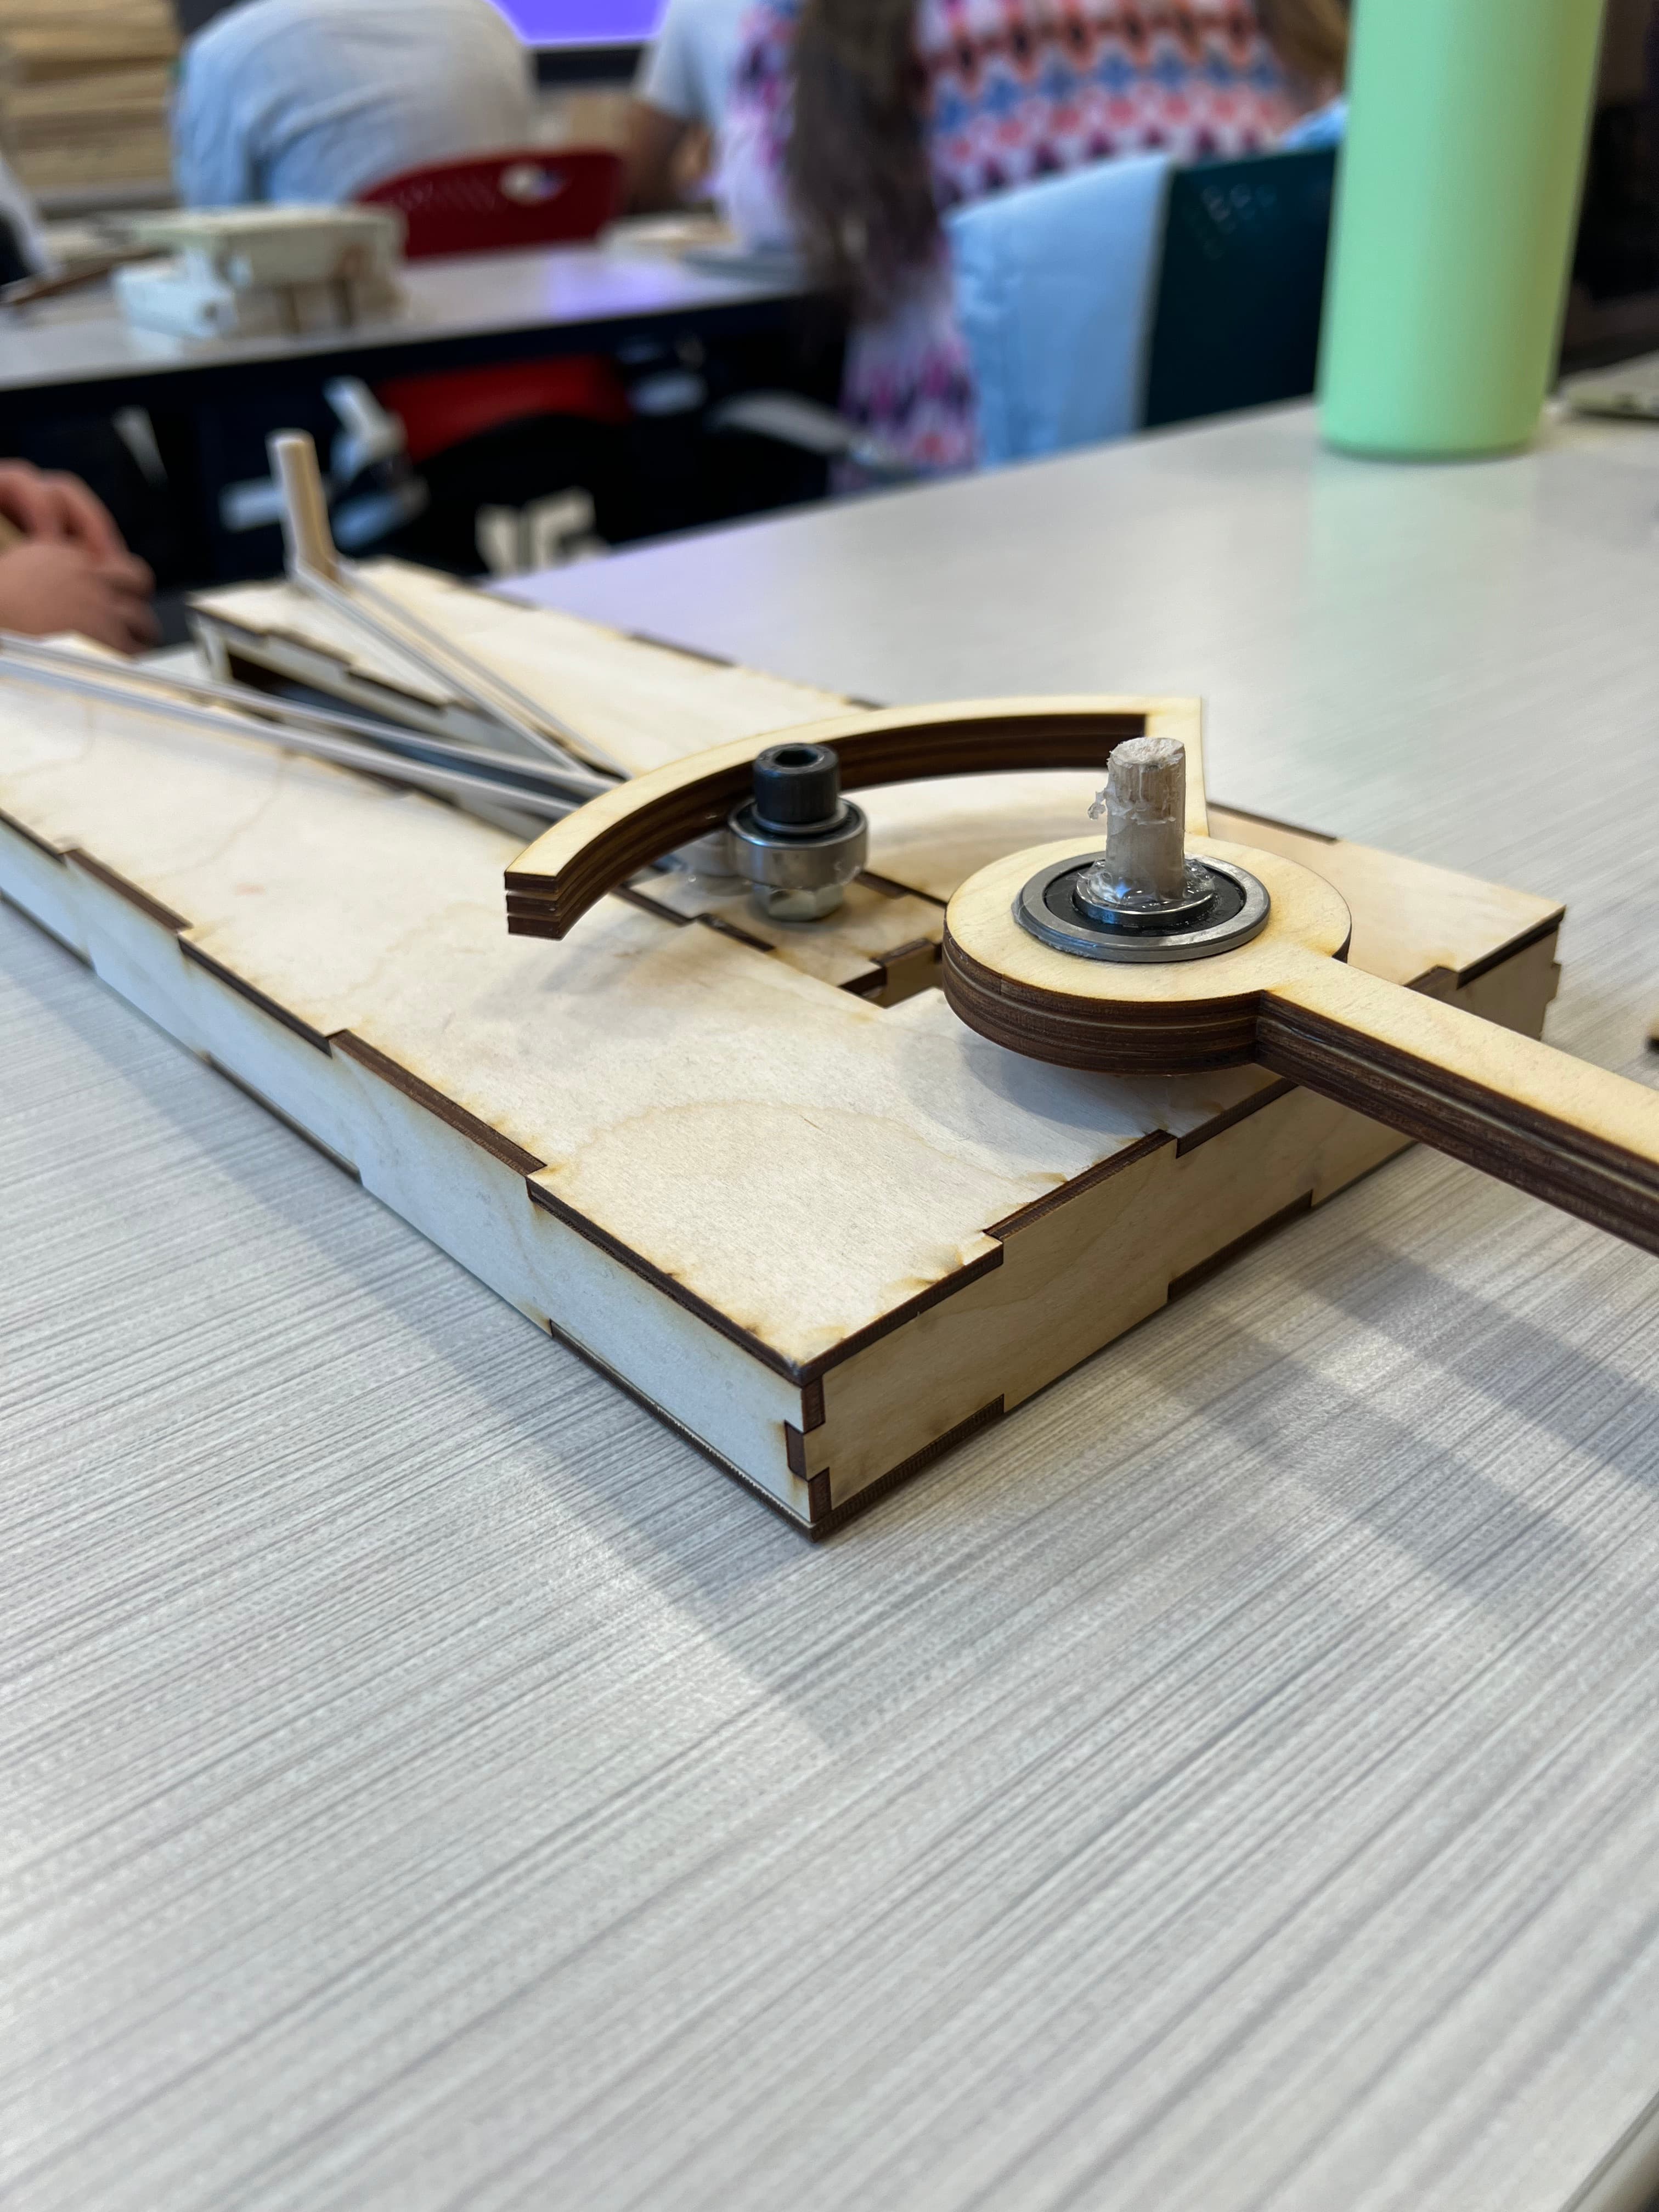
Matchbox Car Launcher
'The BME is whooping your asses' - Brandon
January 2025
In this project, I built a launcher for mtchbox cars. The goal was to create a mechanism that could launch a matchbox car up an 8 inch ramp using the energy generated from rubber bands. For my first prototype, I had a bare bones design that was able to launch the car up the ramp. However, I realized that to make the car rocket, a few items needed adjustment: - The posts needed reinforcement to handle the pull of the rubber bands - The launch box needed to be lighter so energy distribution was more efficient - The track needed to be smoother to reduce friction - The release mechanism needed both a handle and a better swivel point My second prototype addressed these issues and was able to launch the car up the ramp with more force and accuracy. I made the launch box as compact as possible, the posts were reinforced by slotting them through the entire rig, and the release mechanism was very simple and quick. The track still had a bit of friction, I doubled up on rubber bands (4 total) and increased the launch length which was more than enough to overcome the sliding friction.
Technologies
- Onshape
- Adobe Illustrator
- Laser Cutting
Materials
- 3mm Plywood
- 4x Rubber Bands
- 2x Ball Bearings
- 1x 1/8 inch Wooden Dowel
- 2x Bolt
- 3x Nuts
- 2x Washer
- Superglue
- Loc Tite
- Hot Glue
Skills
- CAD Design
- Laser Cut Assembly
Challenges
Managing the force created on the posts when the rubber bands are drawn Reducing friction of the launch box as it moves along the track
More Pictures
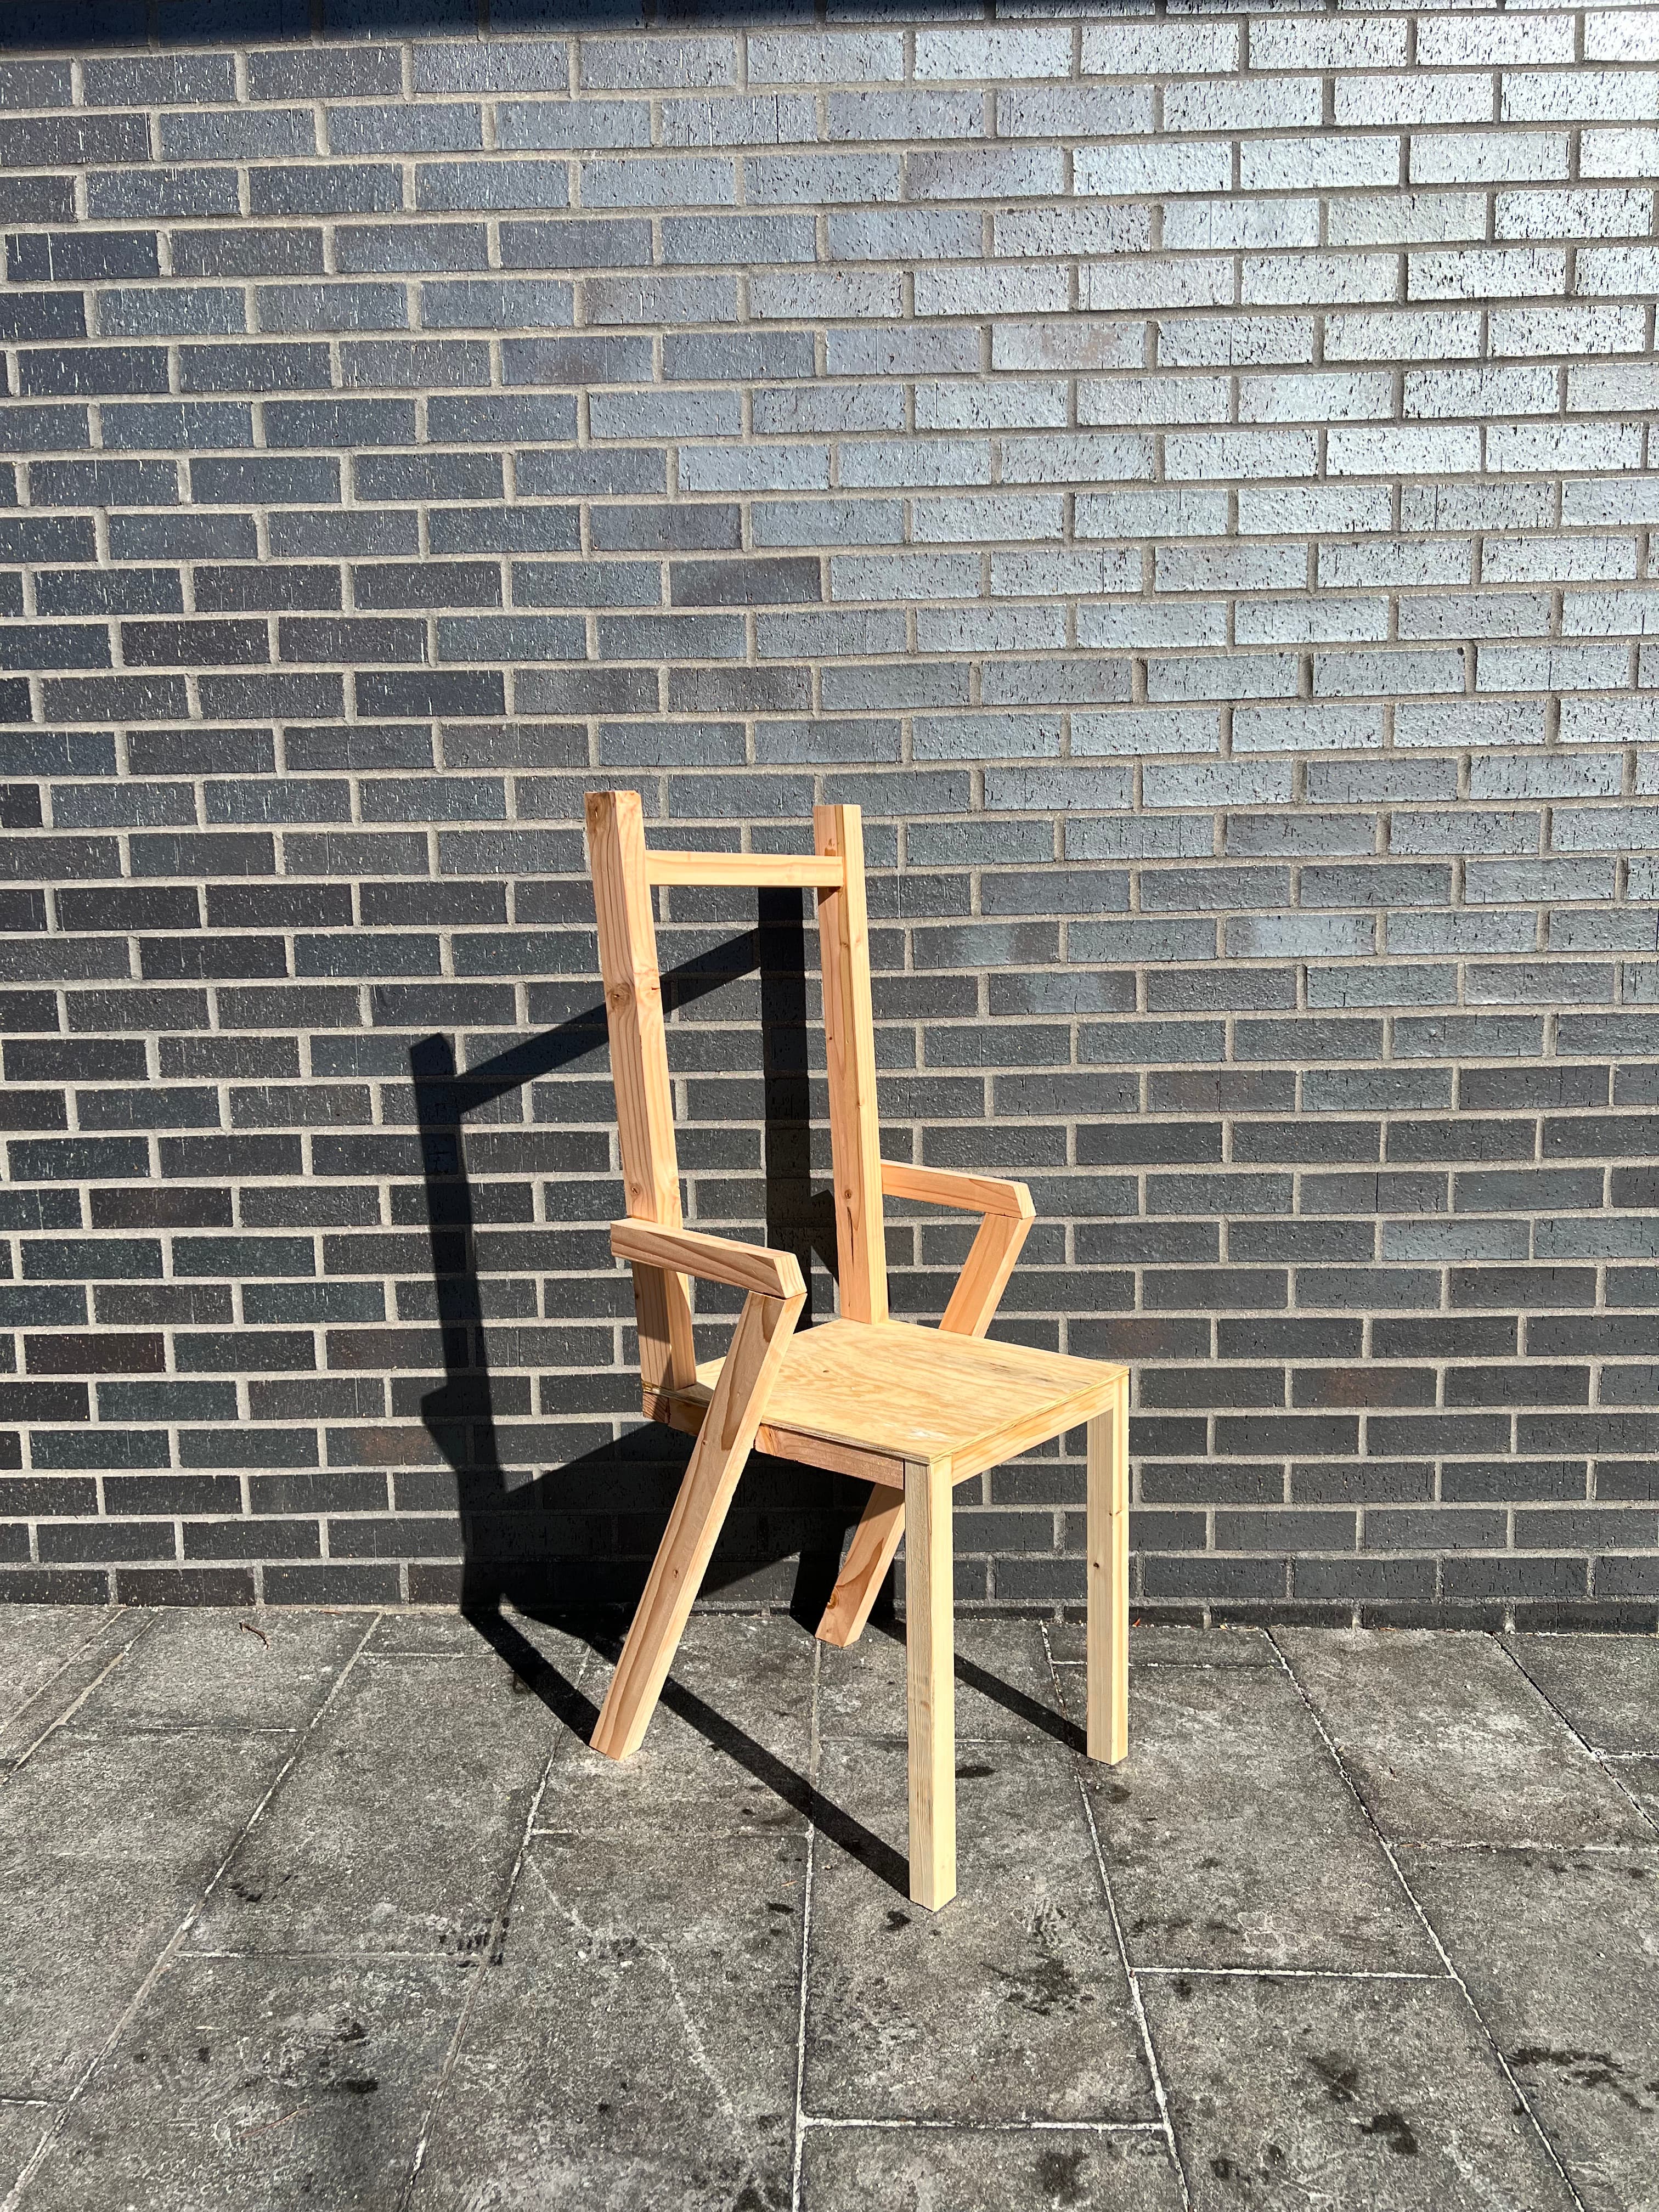
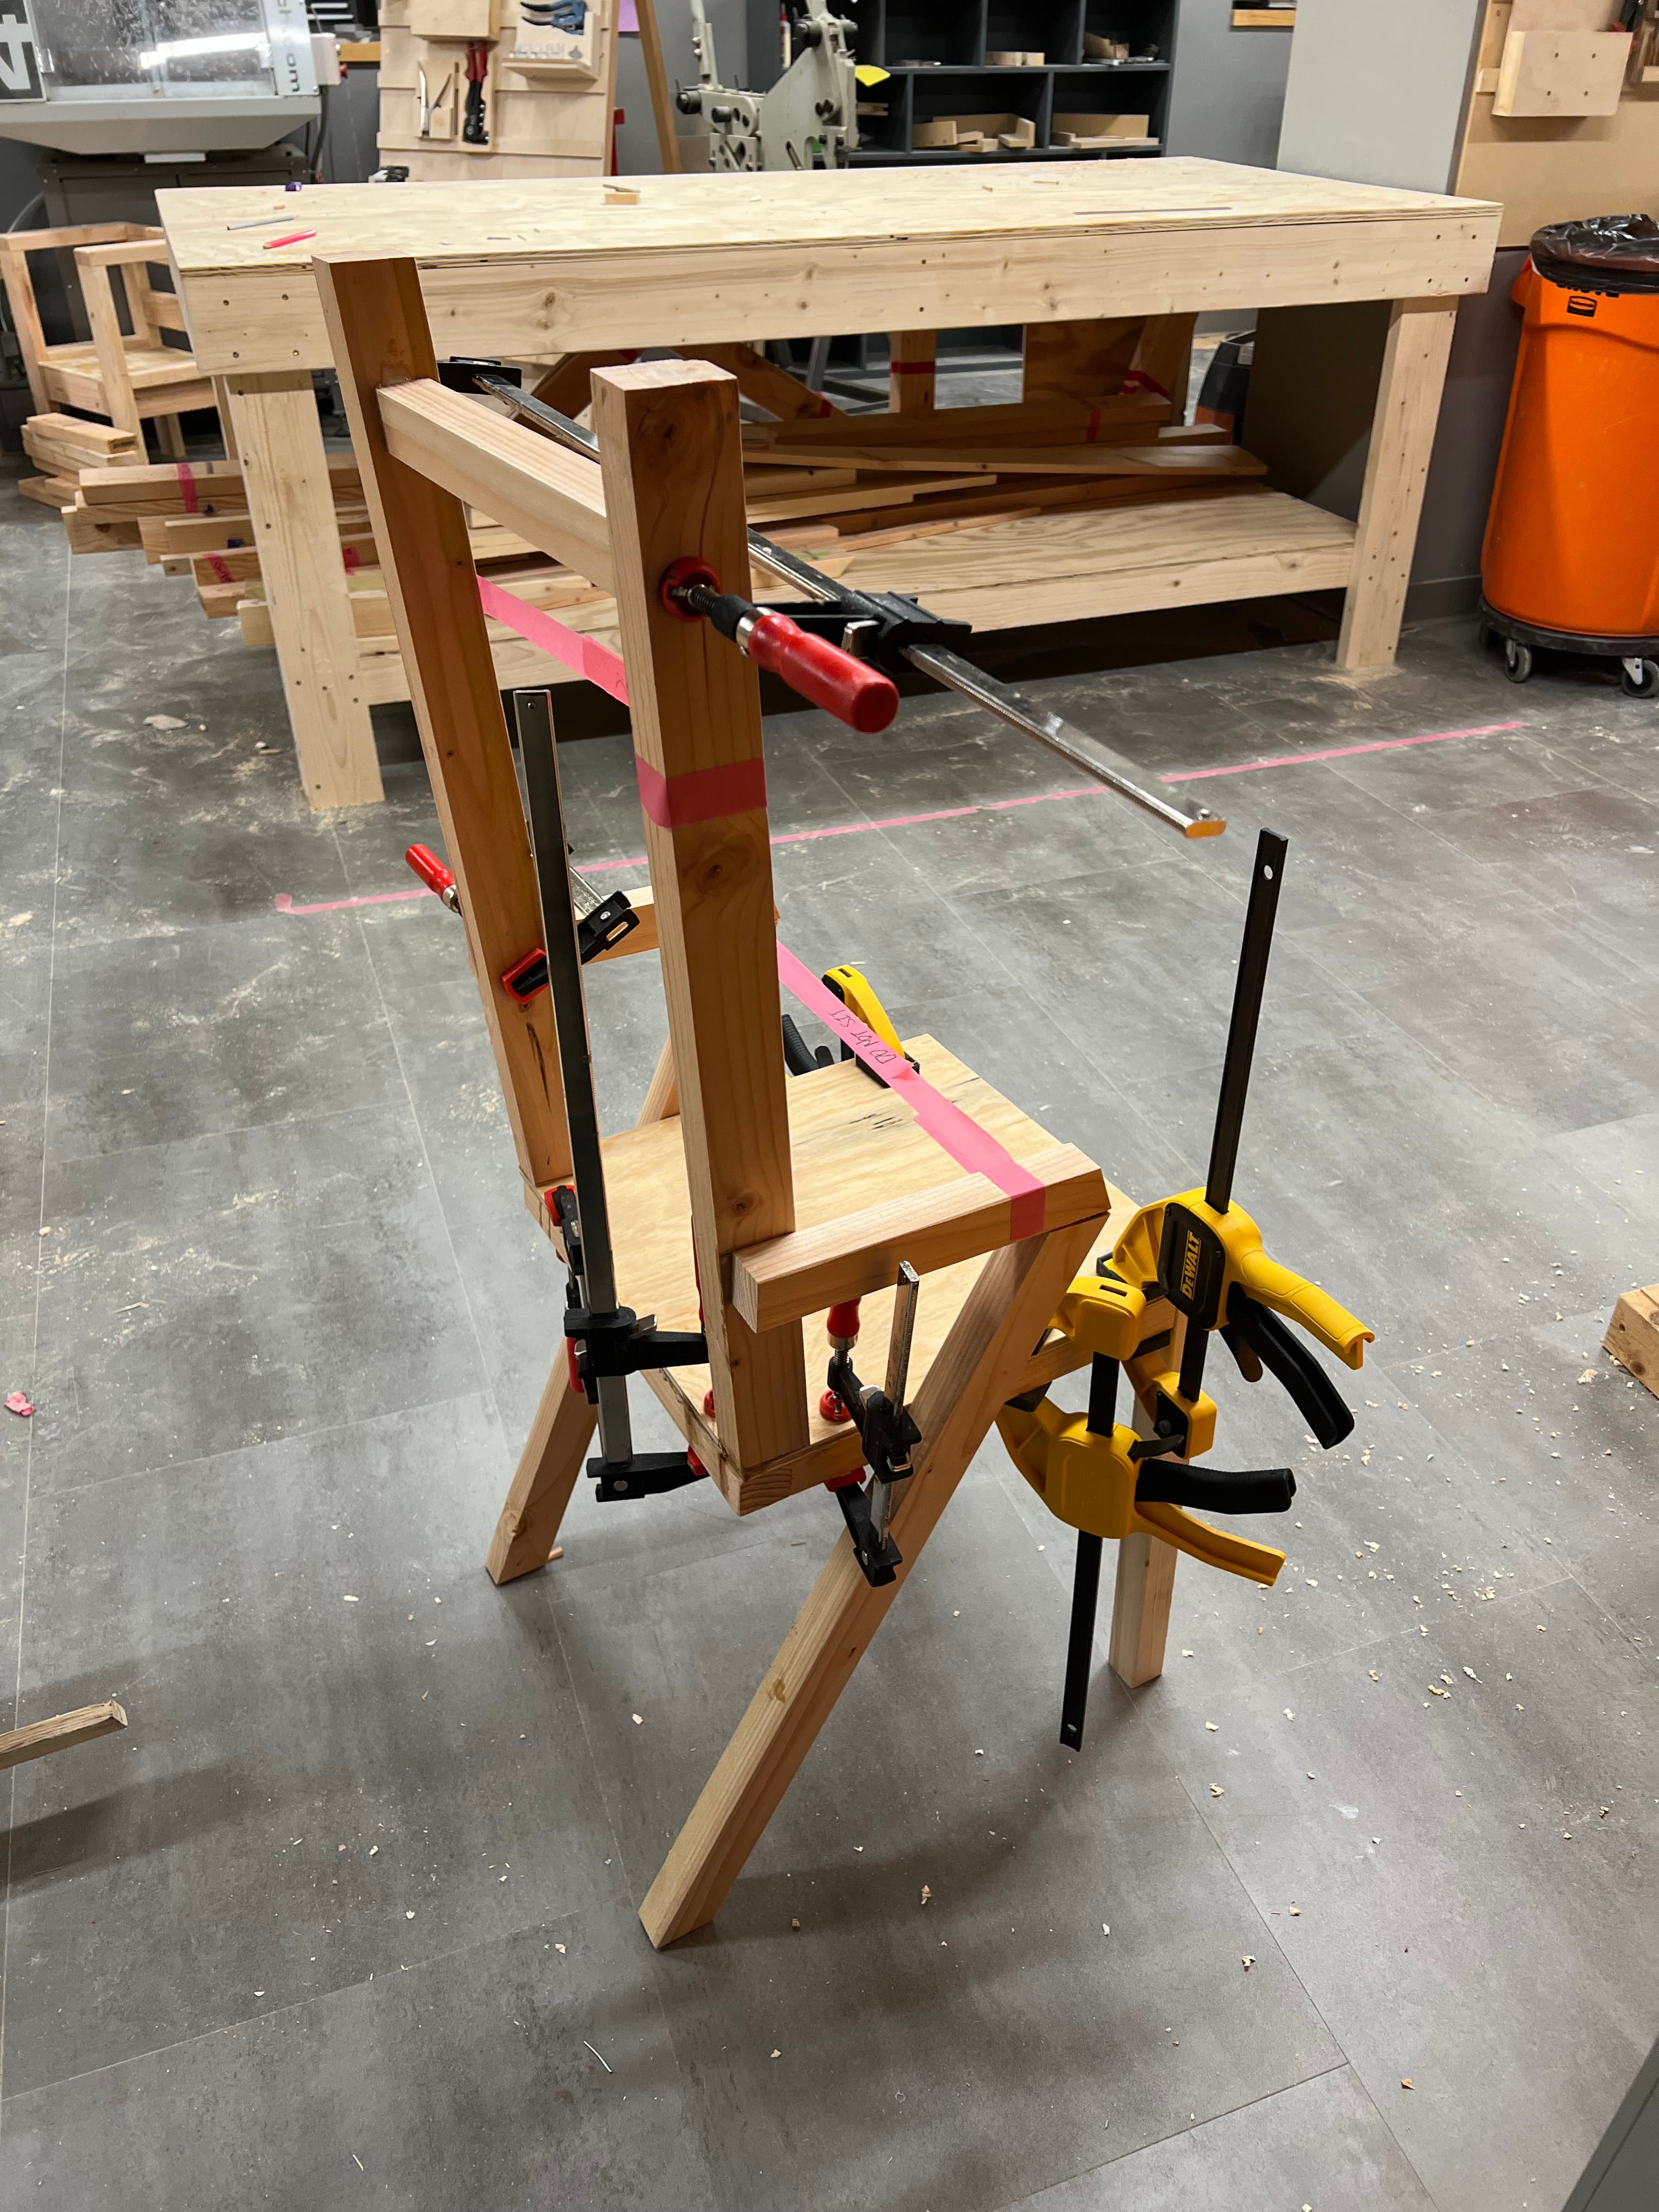
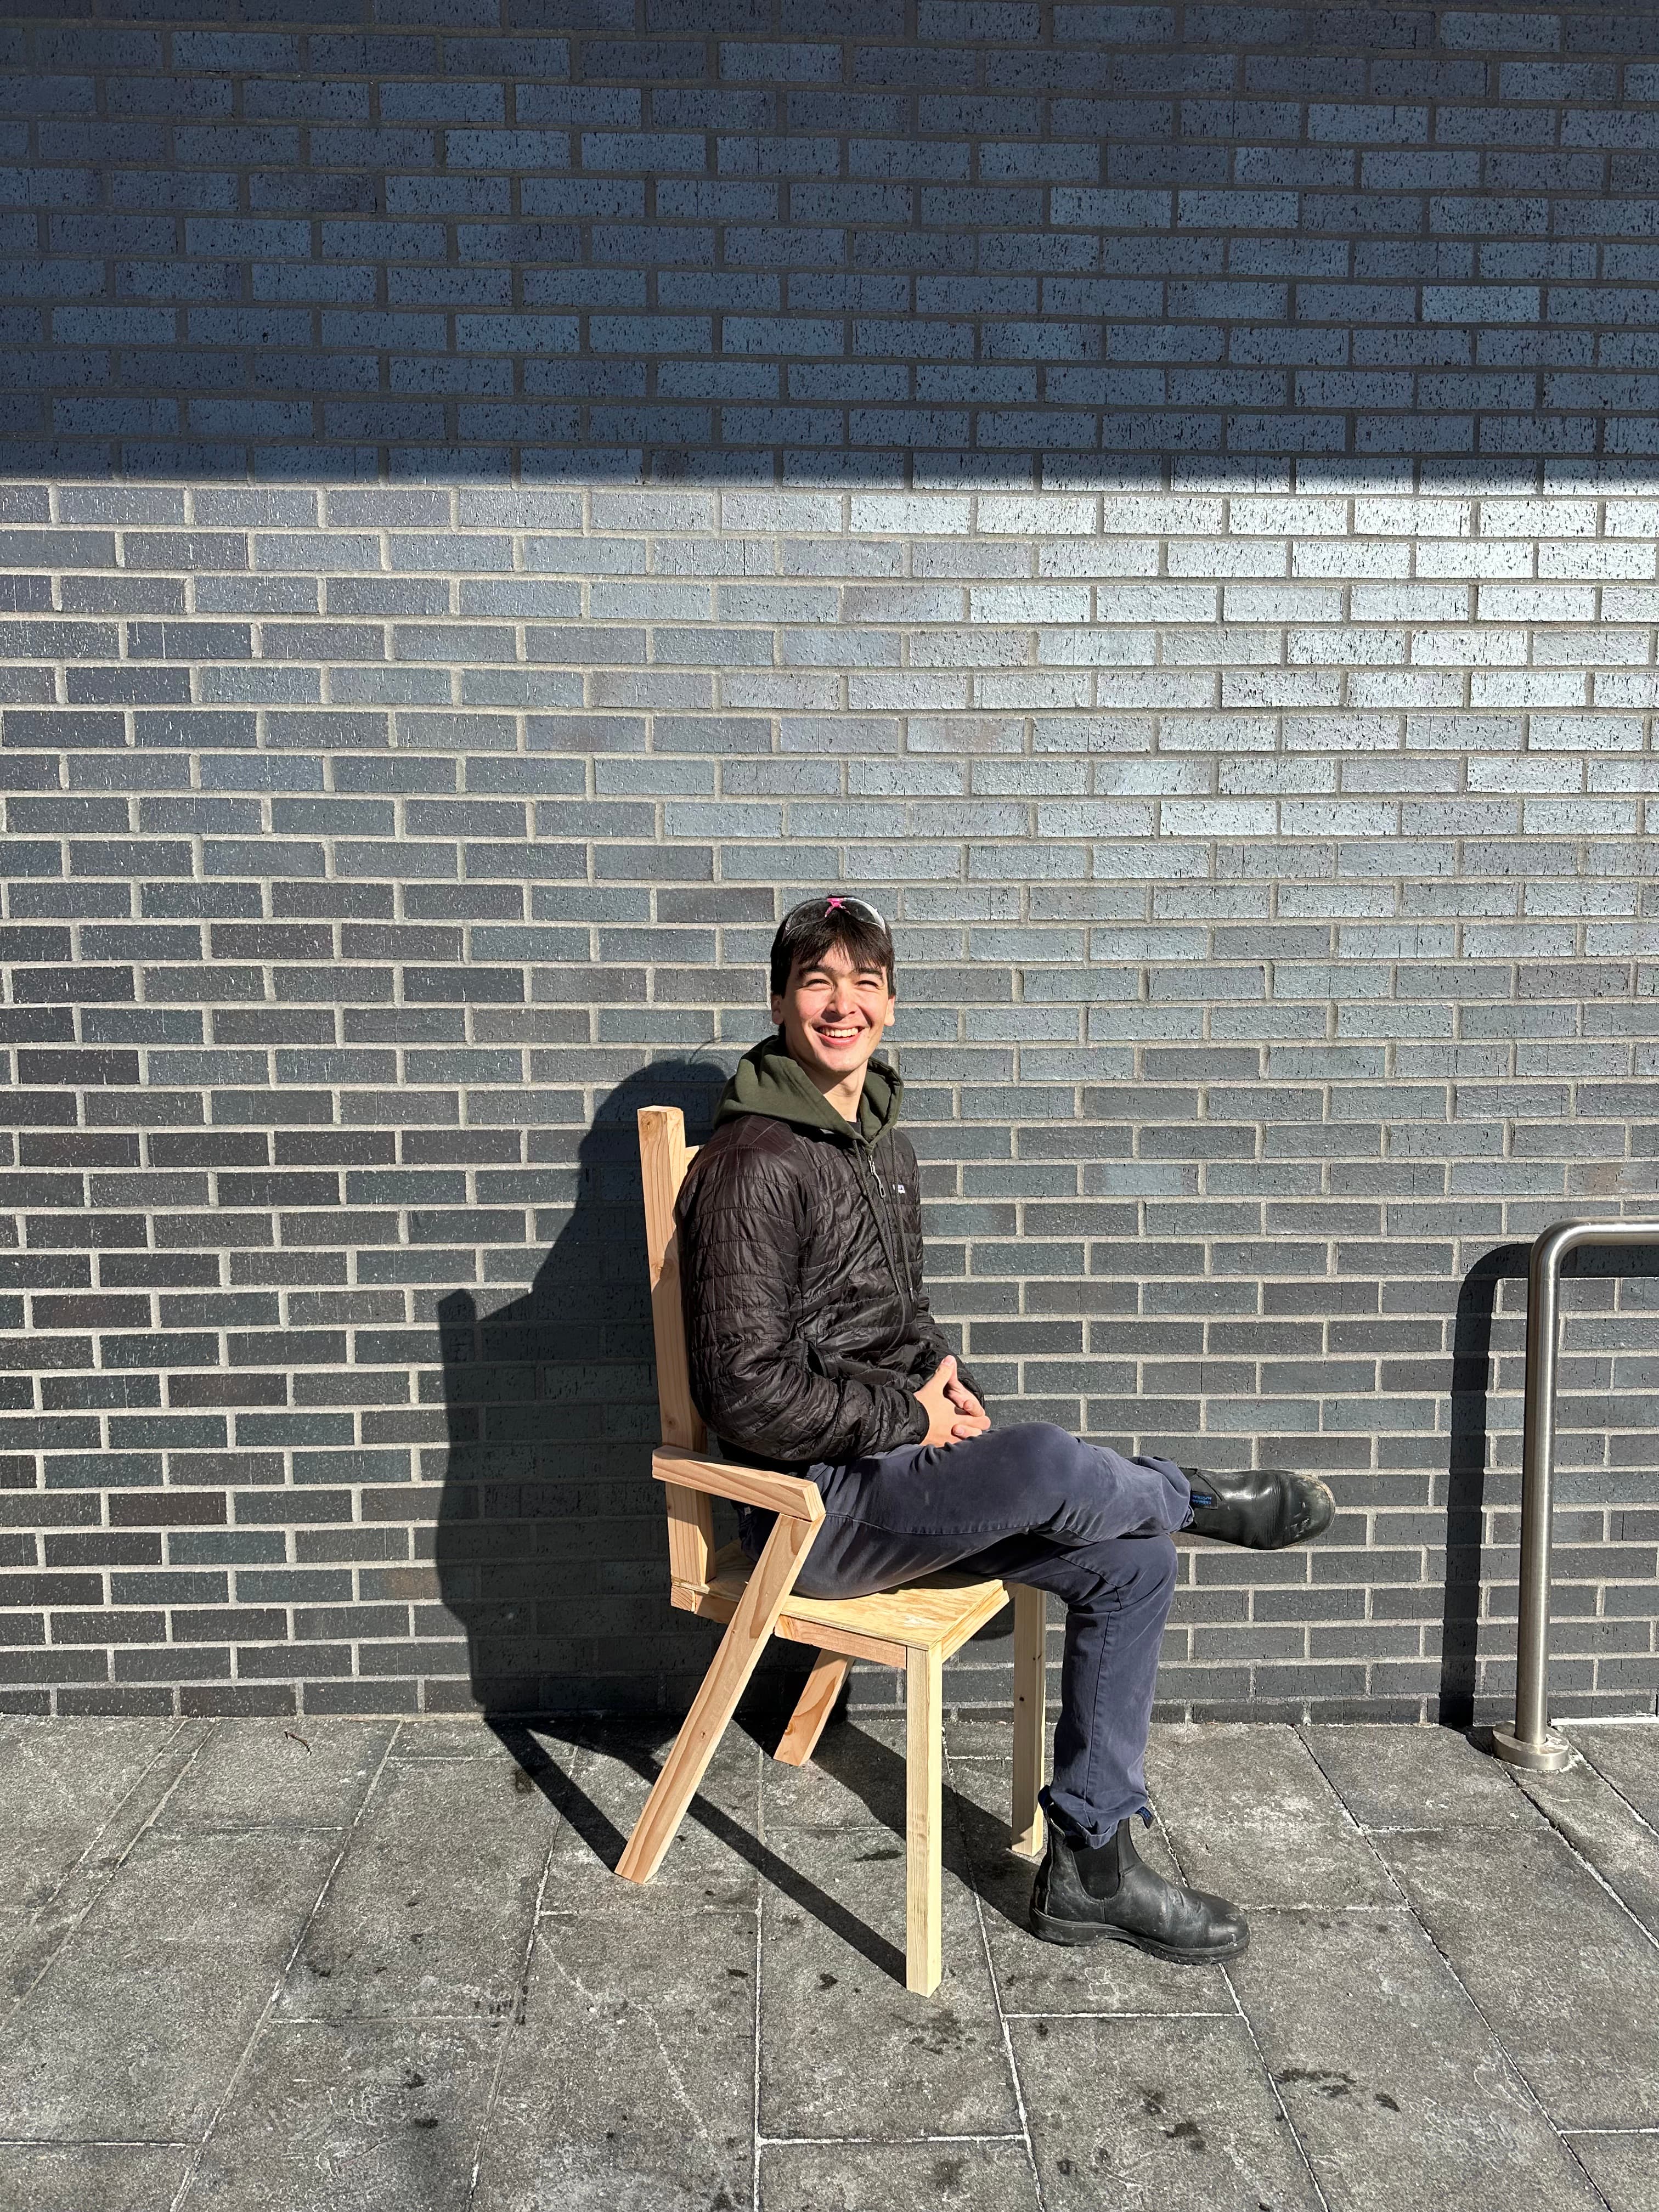
Chair
January 2025
In this project, I built a chair from scratch. My goal for the chair was to create something minimalistic and sturdy, while incorporating an interesting angle. To start, I designed the chair in Onshape, making sure to account for the angles and dimensions of the chair. I used the planar to smooth all pieces, and cut using the miter saw, the table saw, and the band saw. Many of the joints were made using a dowel jig with dowels and wood glue to reinforce.
Technologies
- Onshape/Solidworks
- Table Saw
- Miter Saw
- Biscuit Joiner
- Planar
- Band Saw
- Dowel Jig
Materials
- 2x 8ft. 2x4
- 1x 15x15 plywood
- 1x 8ft. 2x2
- Dowel Rods
- Wood Glue
- Screws
Skills
- Wood Working
- CAD Design
- Joinery
Challenges
The biggest challenge was the joinery. One of my project goals was to conceal all screws and dowels as much as possible. I used the dowel jig to join multiple pieces together, lots of wood glue, and learned how to create a pocket screw hole for angled, hidden joints.
More Pictures
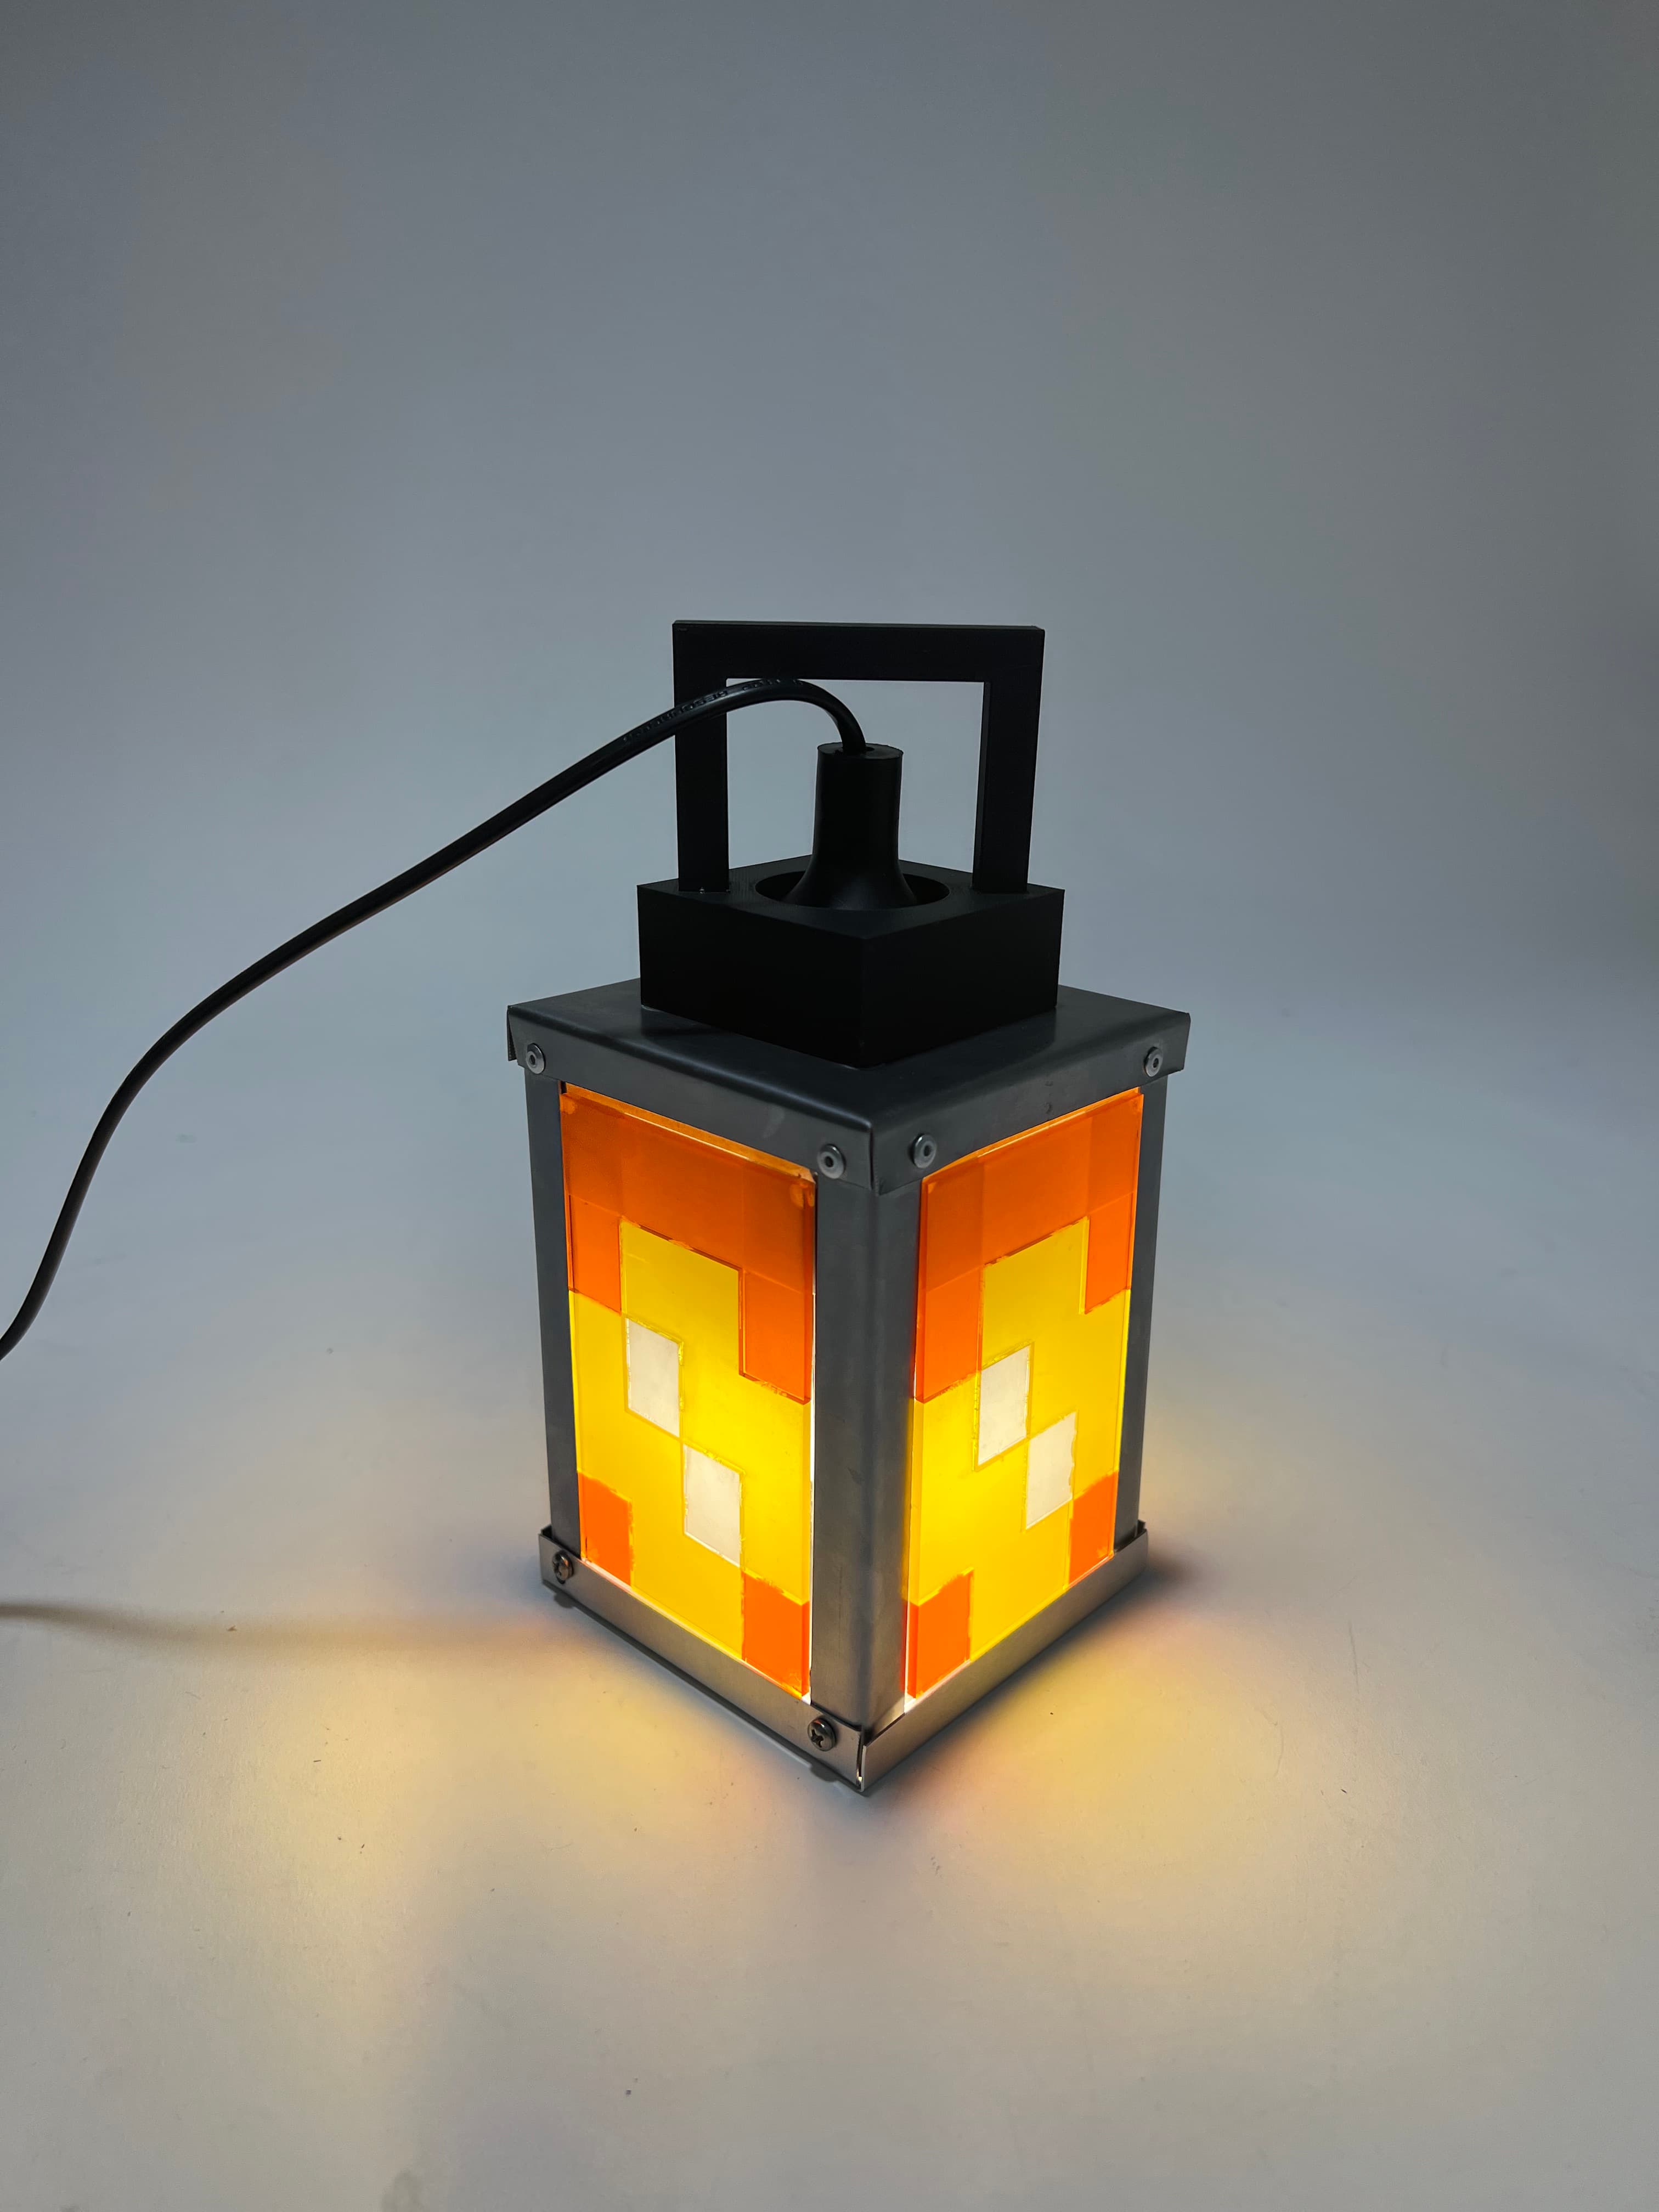
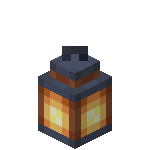
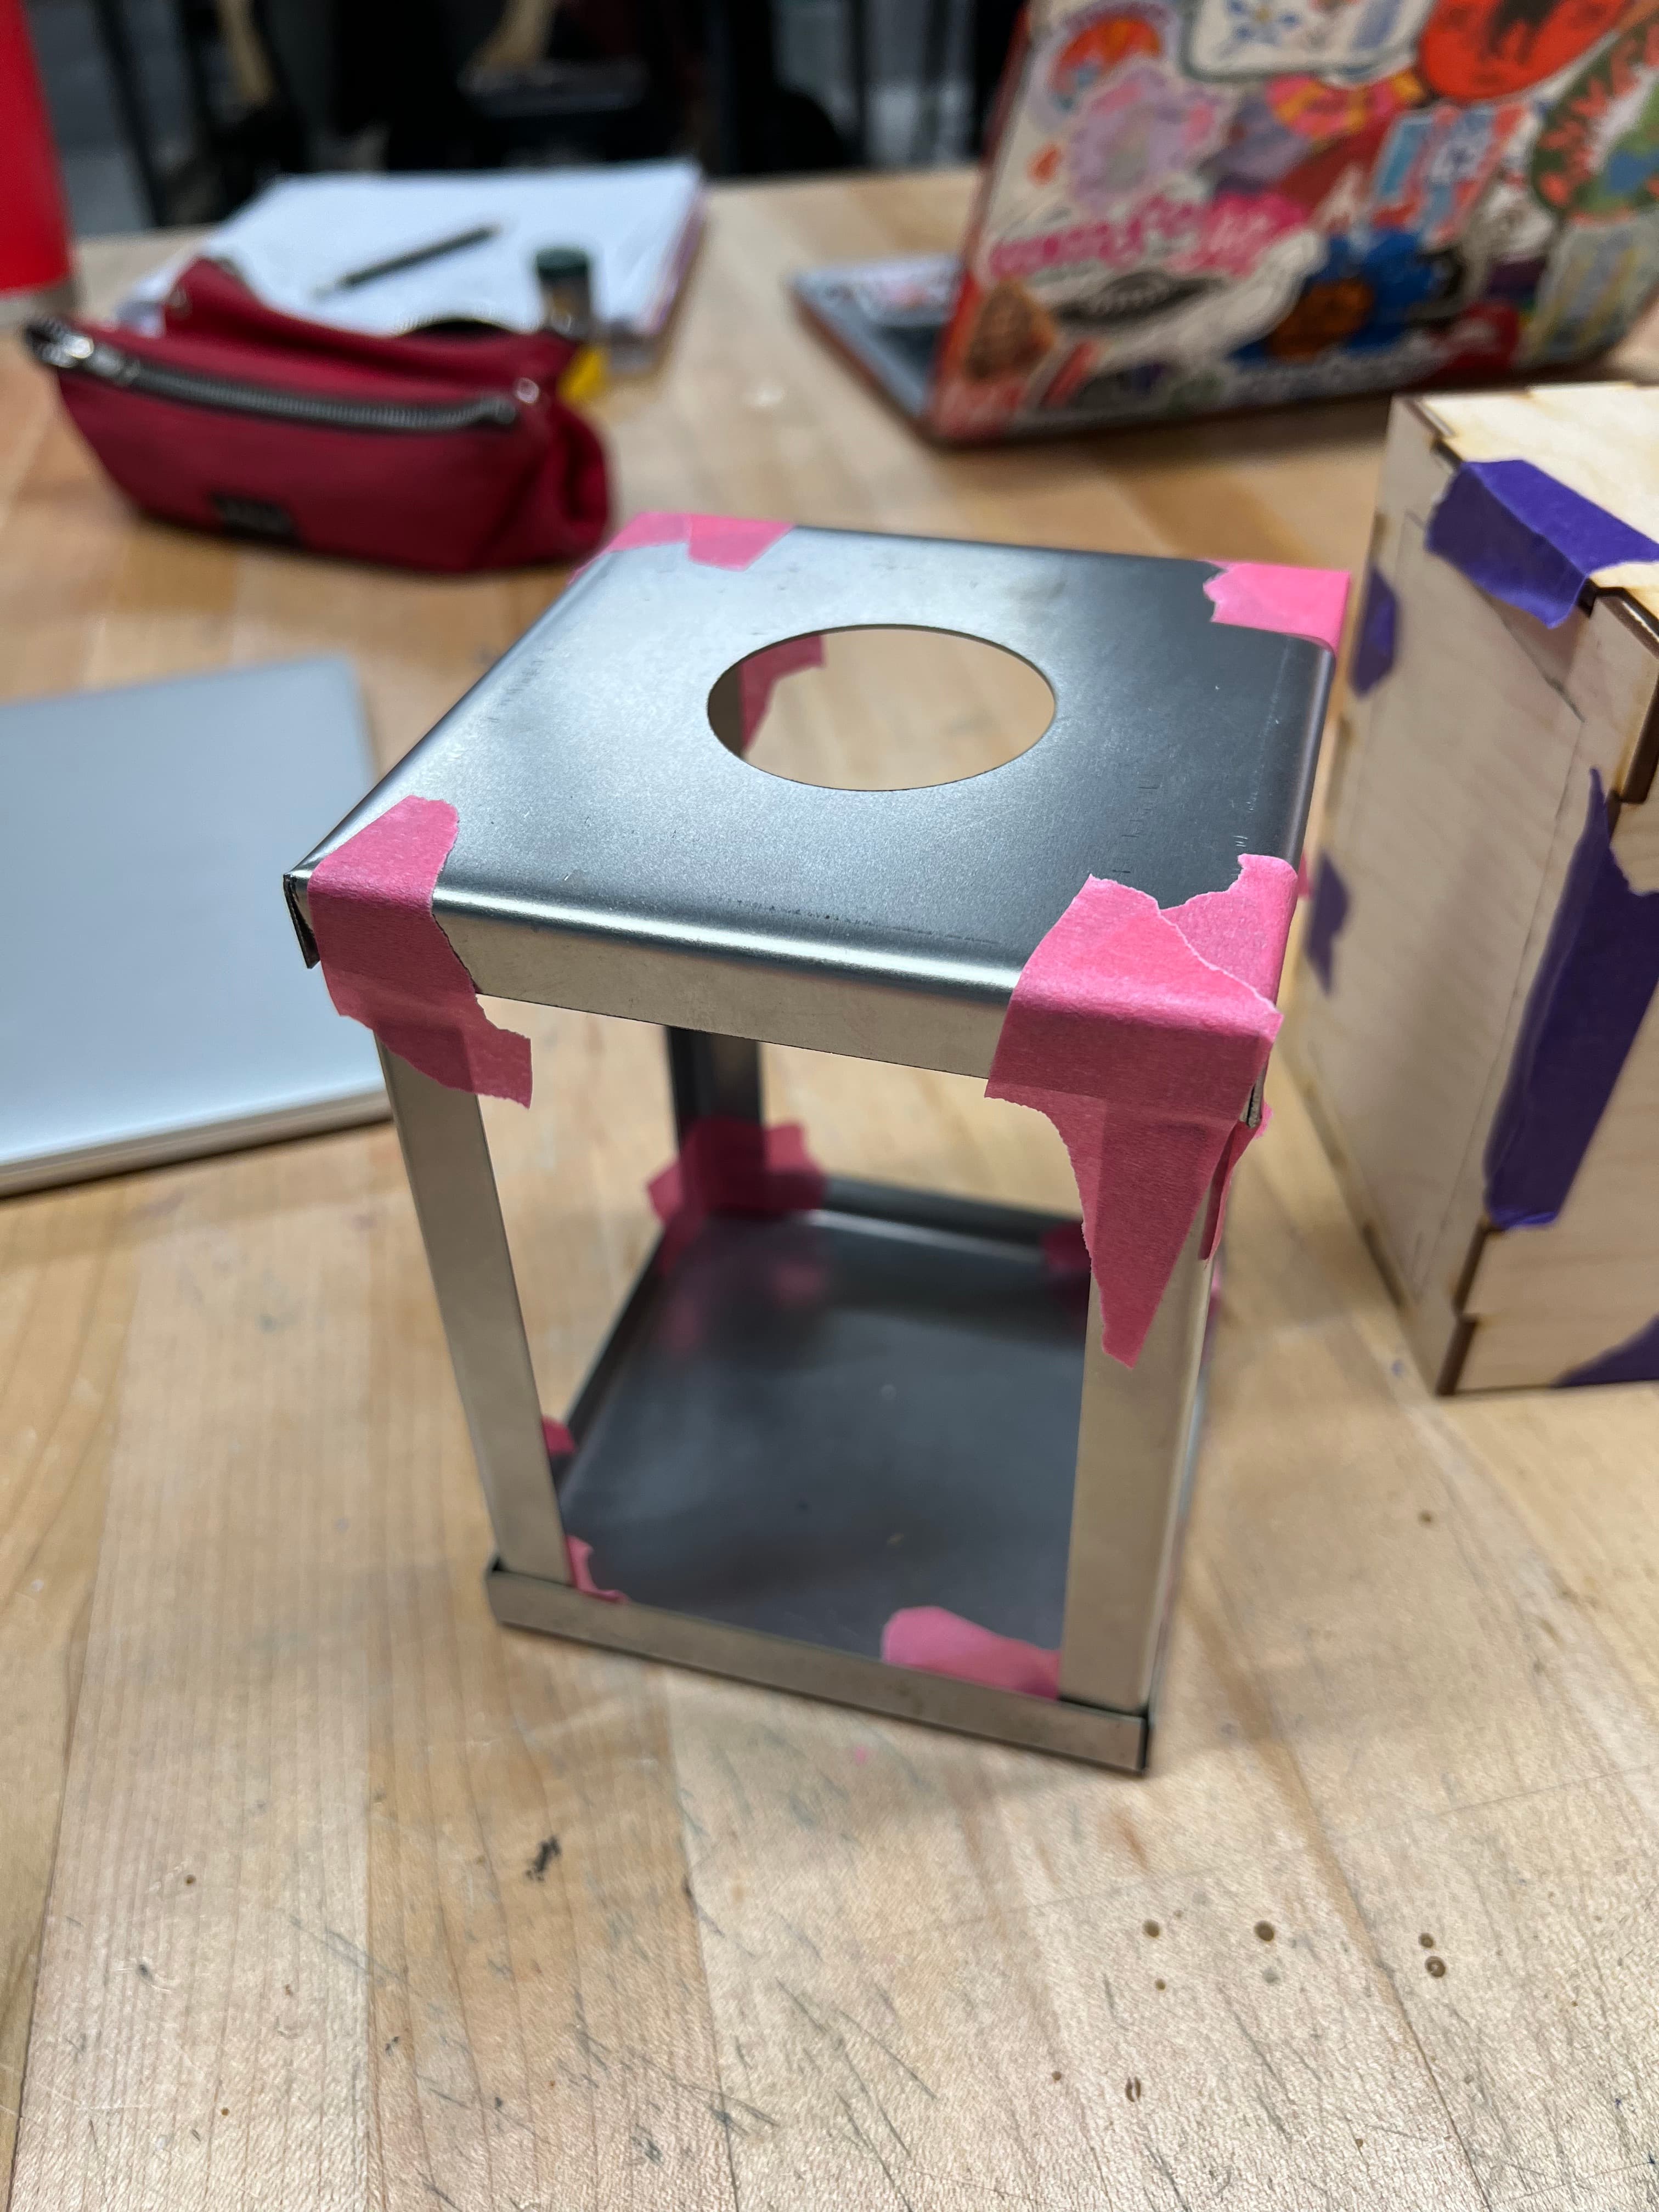
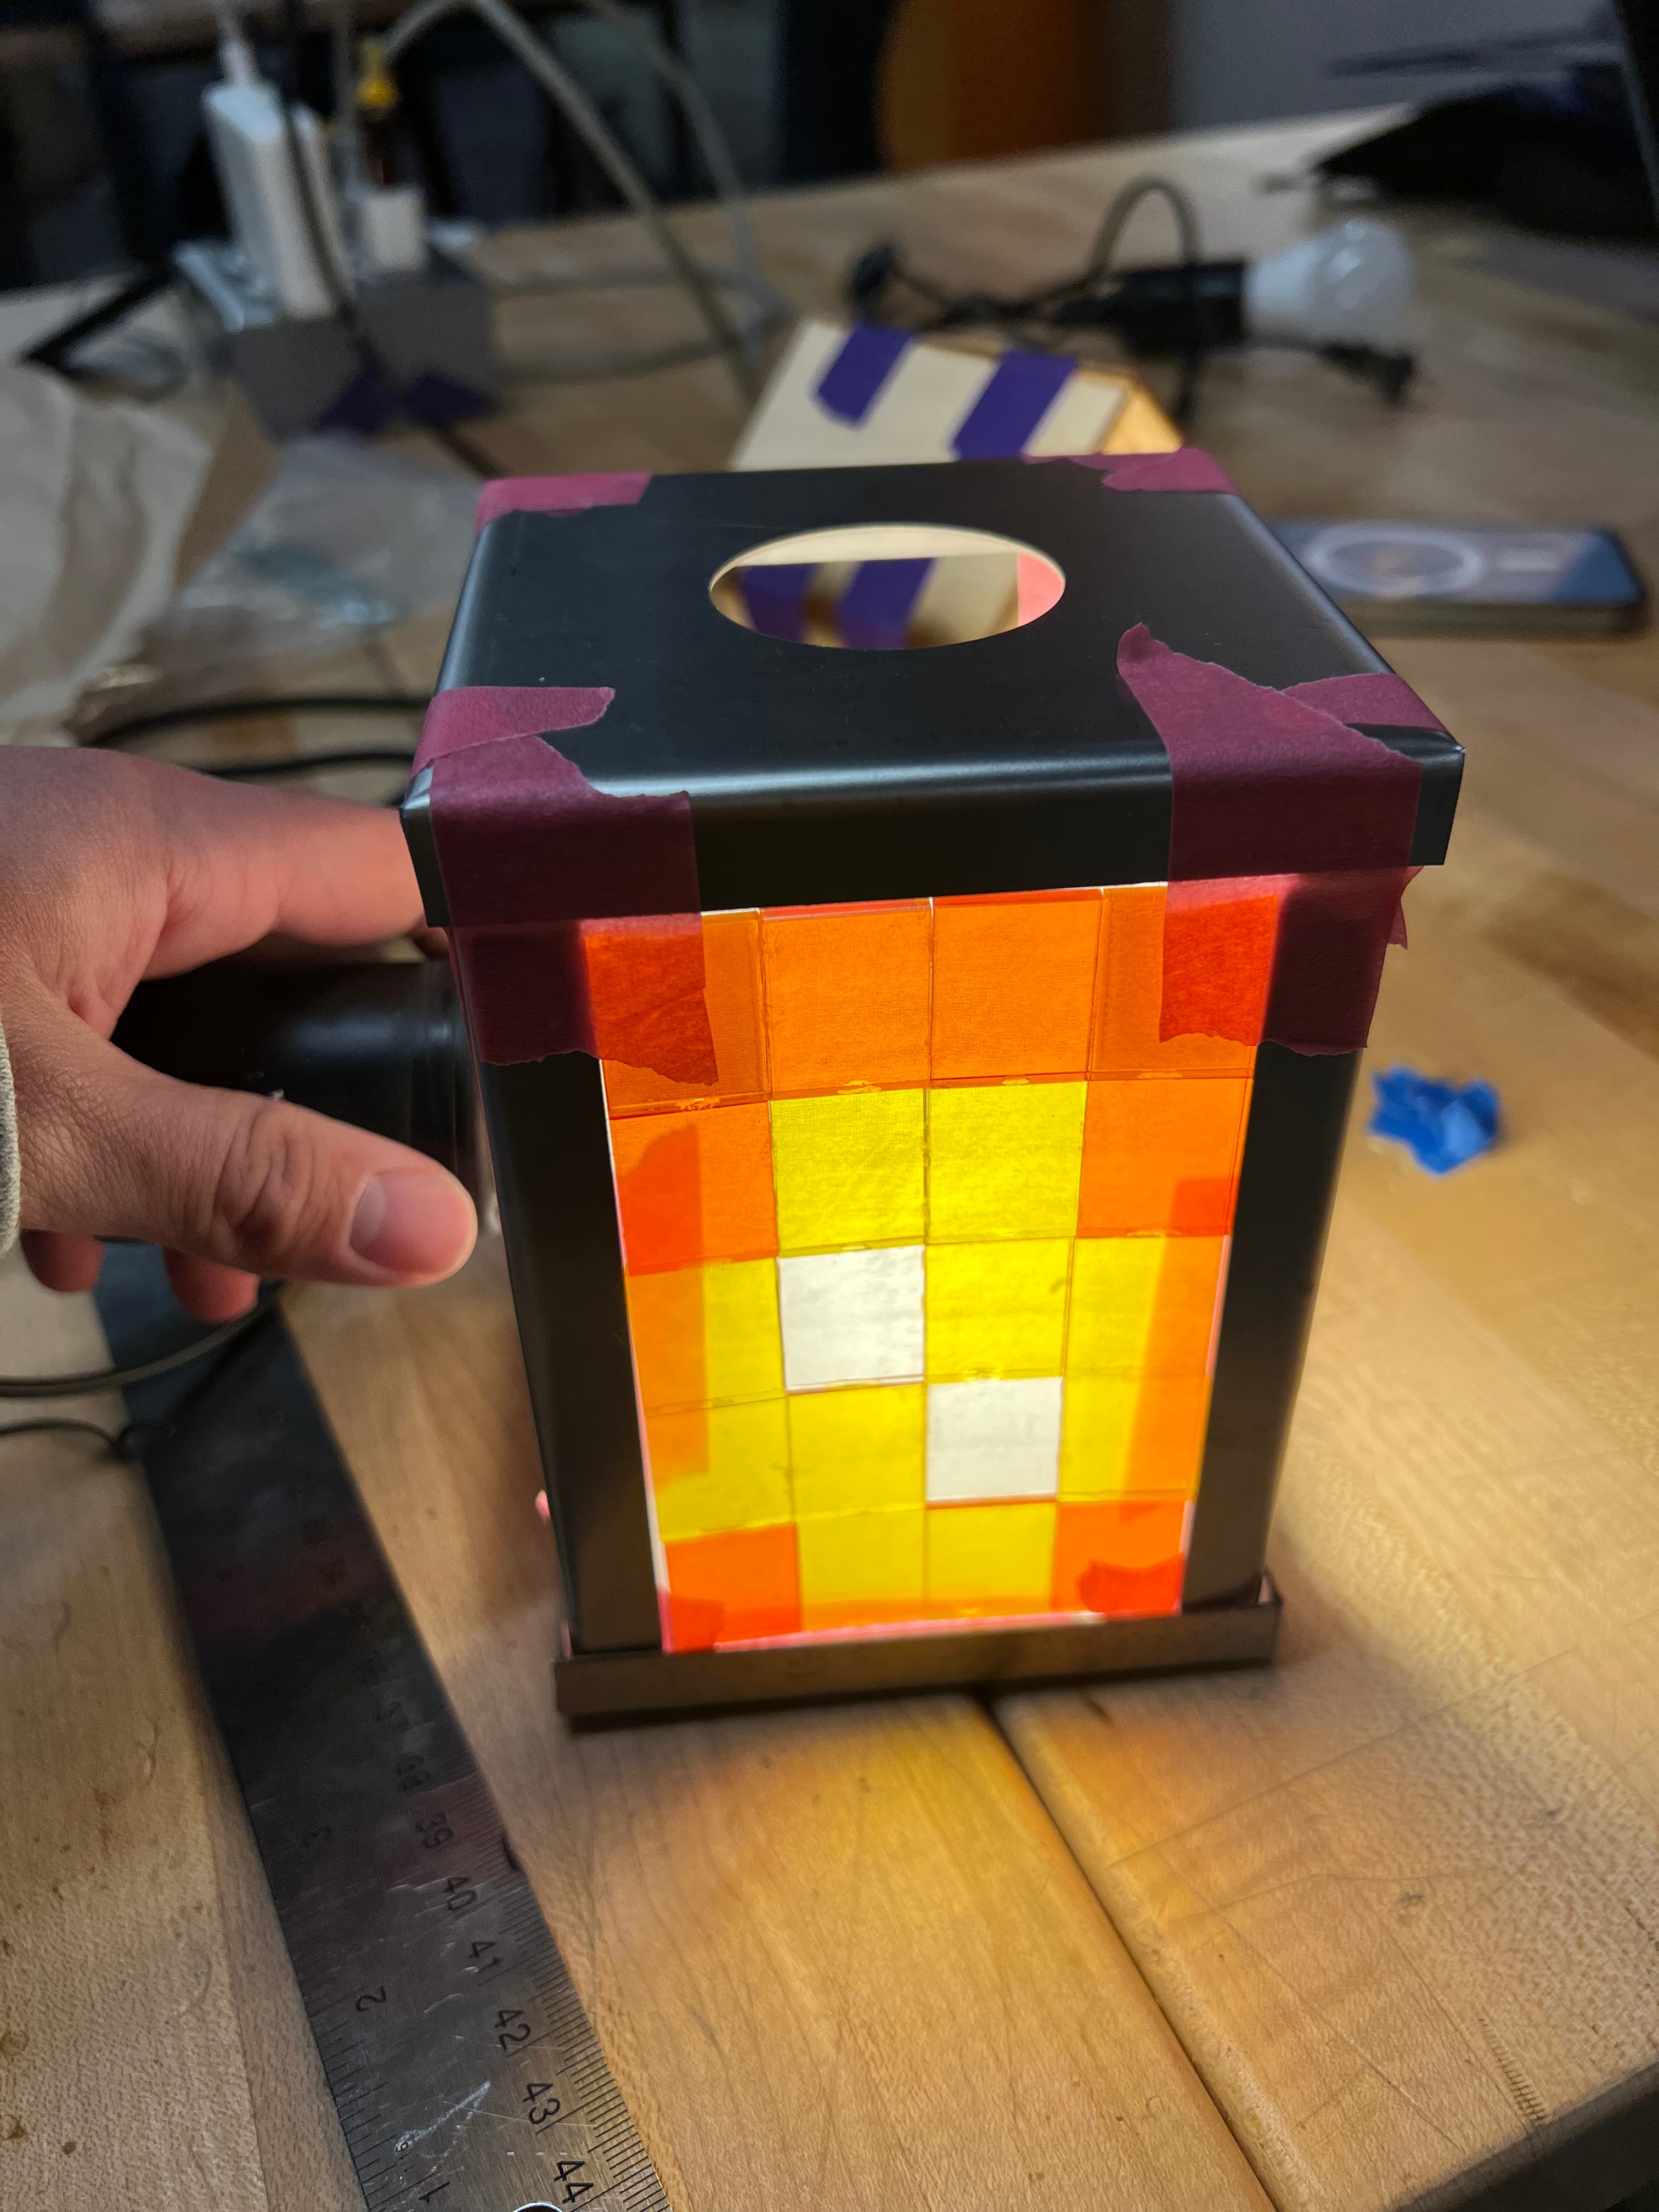
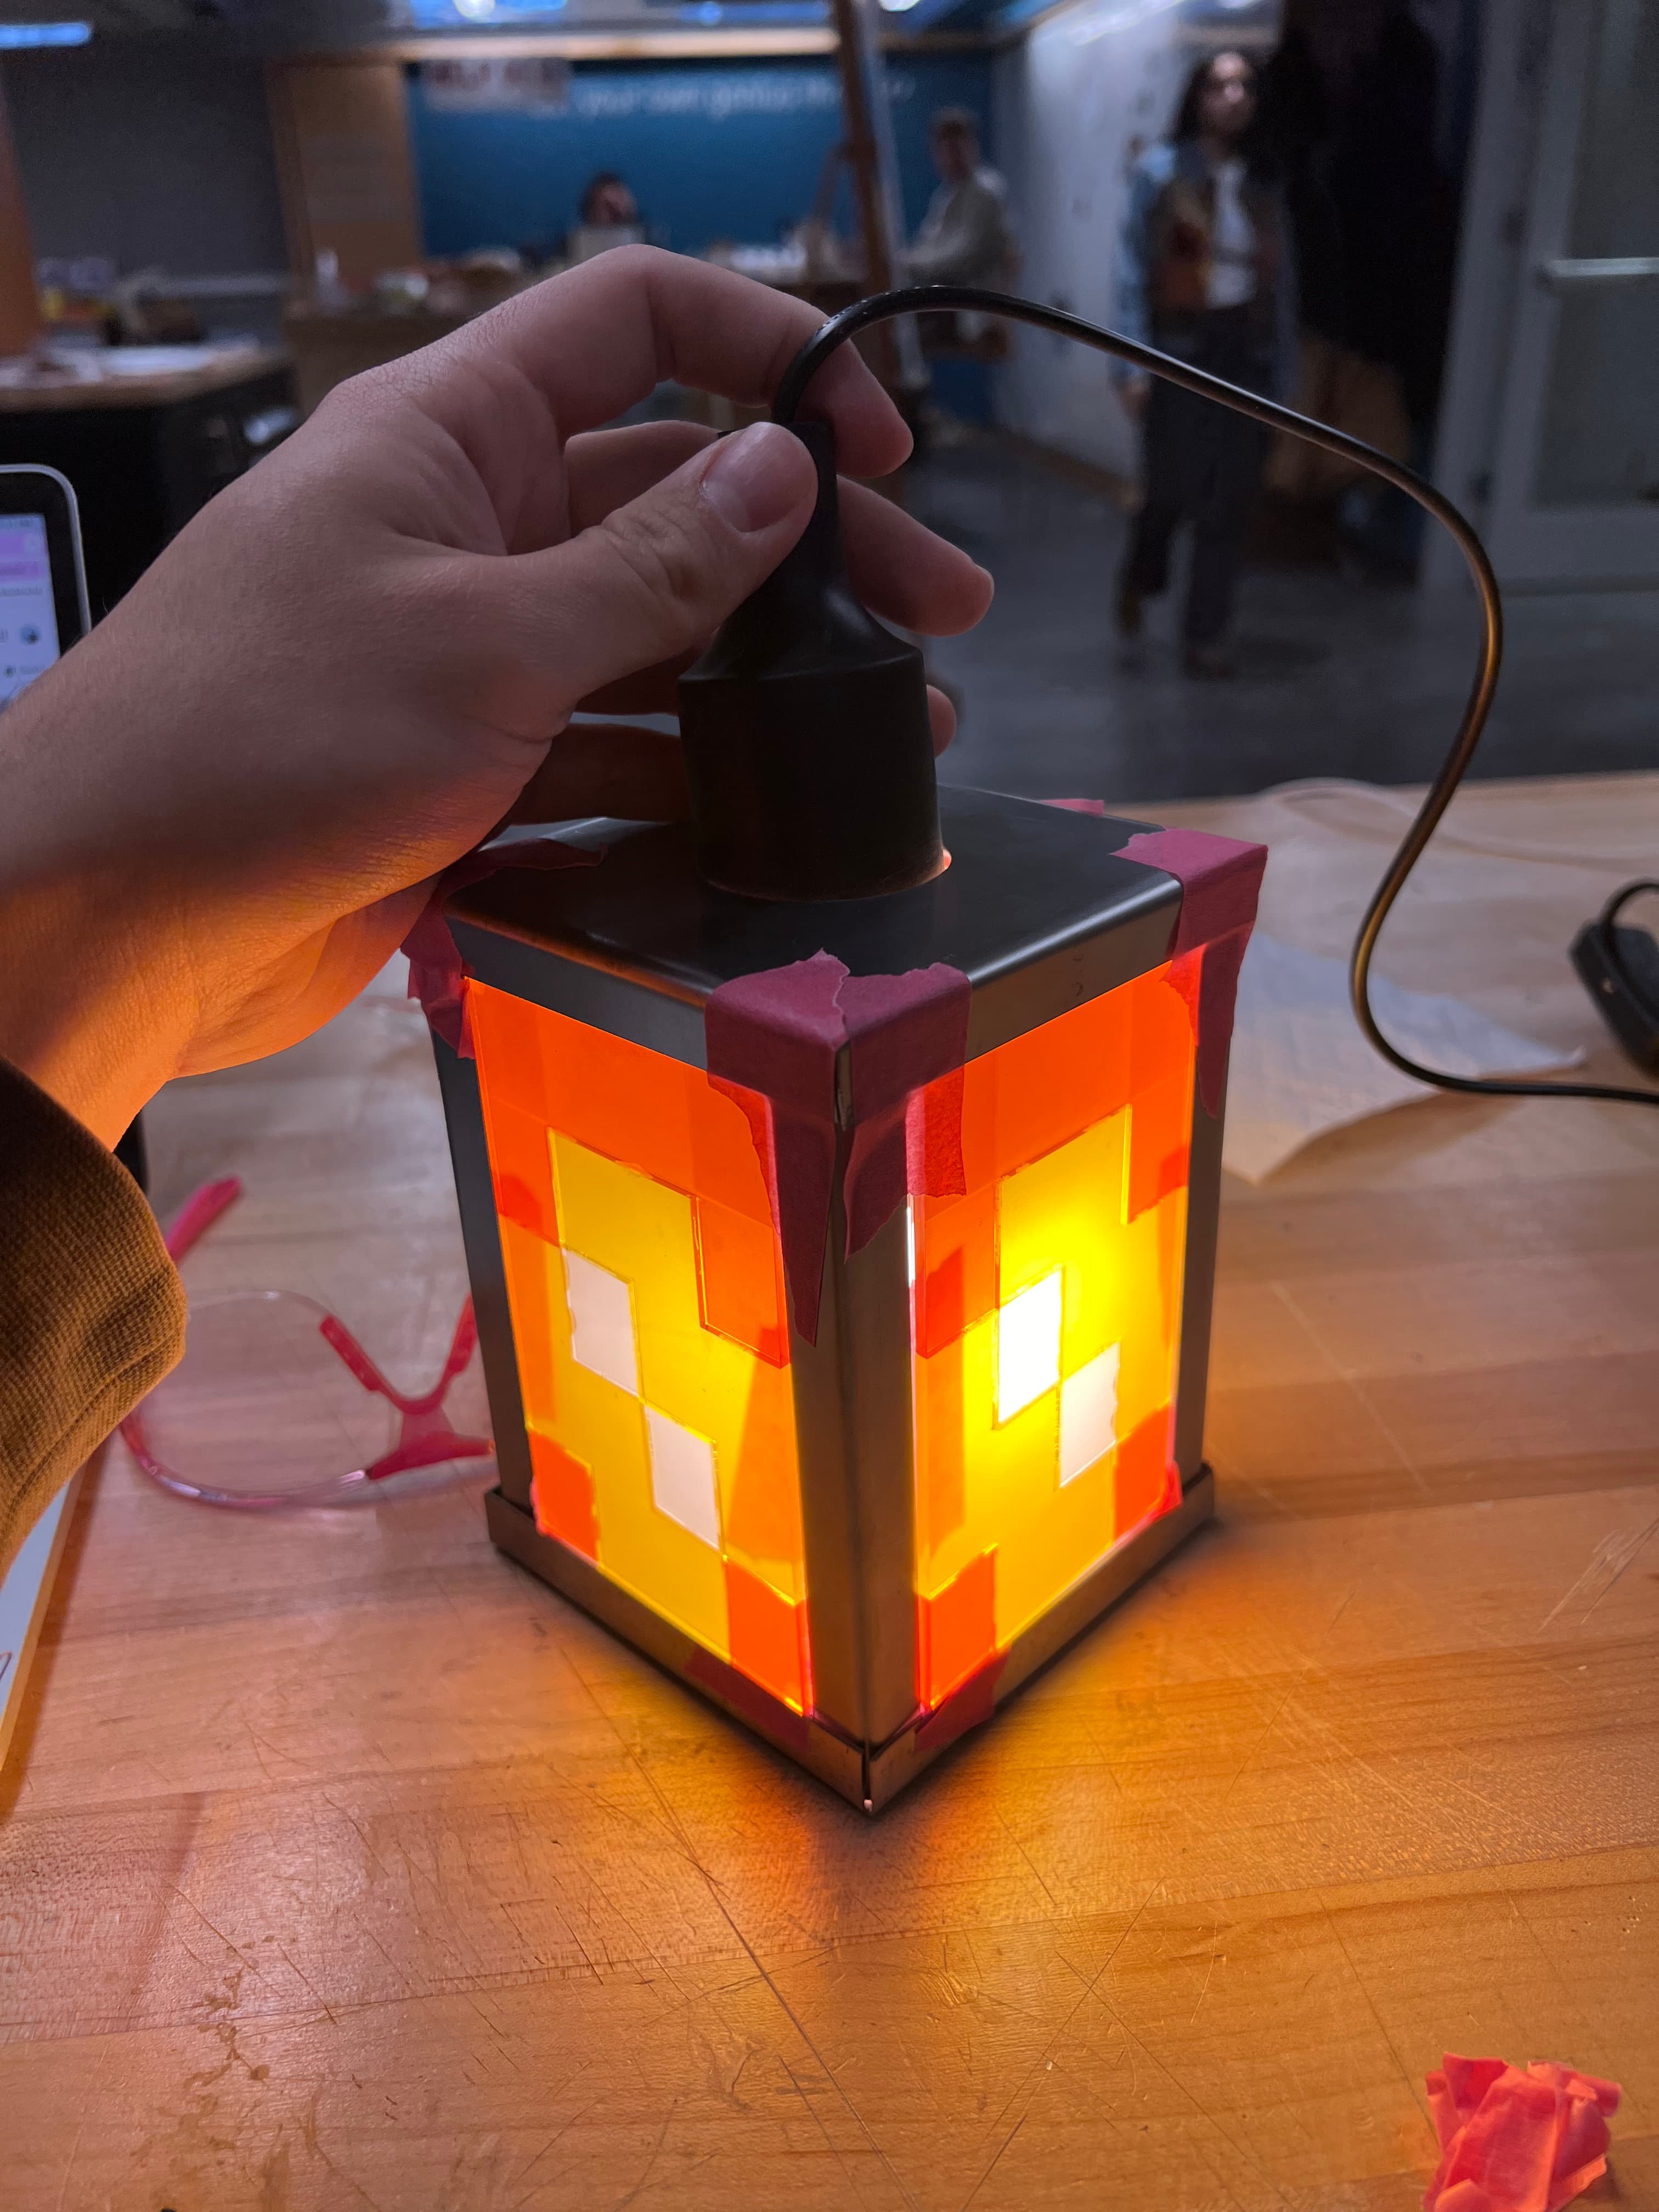
Lamp
February 2025
In this project, I built a sheet metal lamp inspired by a minecraft lantern. This was the first exposure I've had working with sheet metal, a much different medium to design with compared to wood and plastics. I started by creating a CAD model of the lamp, making sure to account for the bends and dimensions of the metal. Since material was limited, I designed the lamp with 4 bent metal posts capped off with a lid and a bottom. The metal pieces were riveted together at the top, and bolted down using bolts and clinch nuts at the bottom so that it could be removed and the lightbulb could be accessed. The windows are made from acrylic, which I frosted and cut in rectangular shapes in true Minecraft fashion, and they are attached to the metal frame with superglue and tape. Coincidentally, Amazon was having a sale on smart bulbs ($0.99 for a color changing RGB bulb) so of course I picked one up and installed it just for fun. It's neat that I can now control the hue, warmth, color, and intensity of the light. I also set it up so it turns on at sunset, just a fun addition to the lamp.
Technologies
- Onshape/Solidworks
- Sheet Metal
- Laser Cutting
- Water Jetting
- Jump Shear
- Metal Bending
Materials
- 1x lightbulb socket with switch
- 1x lightbulb
- 1x 12x12 sheet of 5052-H32 aluminum, 0.032 in. thick
- 1x 12x12 sheet of A1008 steel, 0.030 in. thick
- 1x 12x24 sheet of transparent yellow acrylic
- 1x 12x24 sheet of transparent orange acrylic
- 1x 12x24 sheet of clear acrylic
- 8x rivets
- 4x #6-32 clinch nuts
- 4x #6-32 phillips head bolts
- Tape
- Superglue
- PLA filament
Skills
- CAD Design
- Laser Cut Assembly
- Metal Bending
Challenges
There were a few challenges to this project, namely - The metal bending was difficult to get right, and I had to redo a few pieces - Getting the rivets in the right spot was difficult, they aren't aligned perfectly since I was trying to hole punch with too many moving parts. I wish I had drawn out all of my cuts, aligned, and hole punched before I bent all of the pieces around. - I used superglue for both piecing the windows together and attaching them to the frame, this created glue smudges and also wasn't the best adhesive for the job.
More Pictures
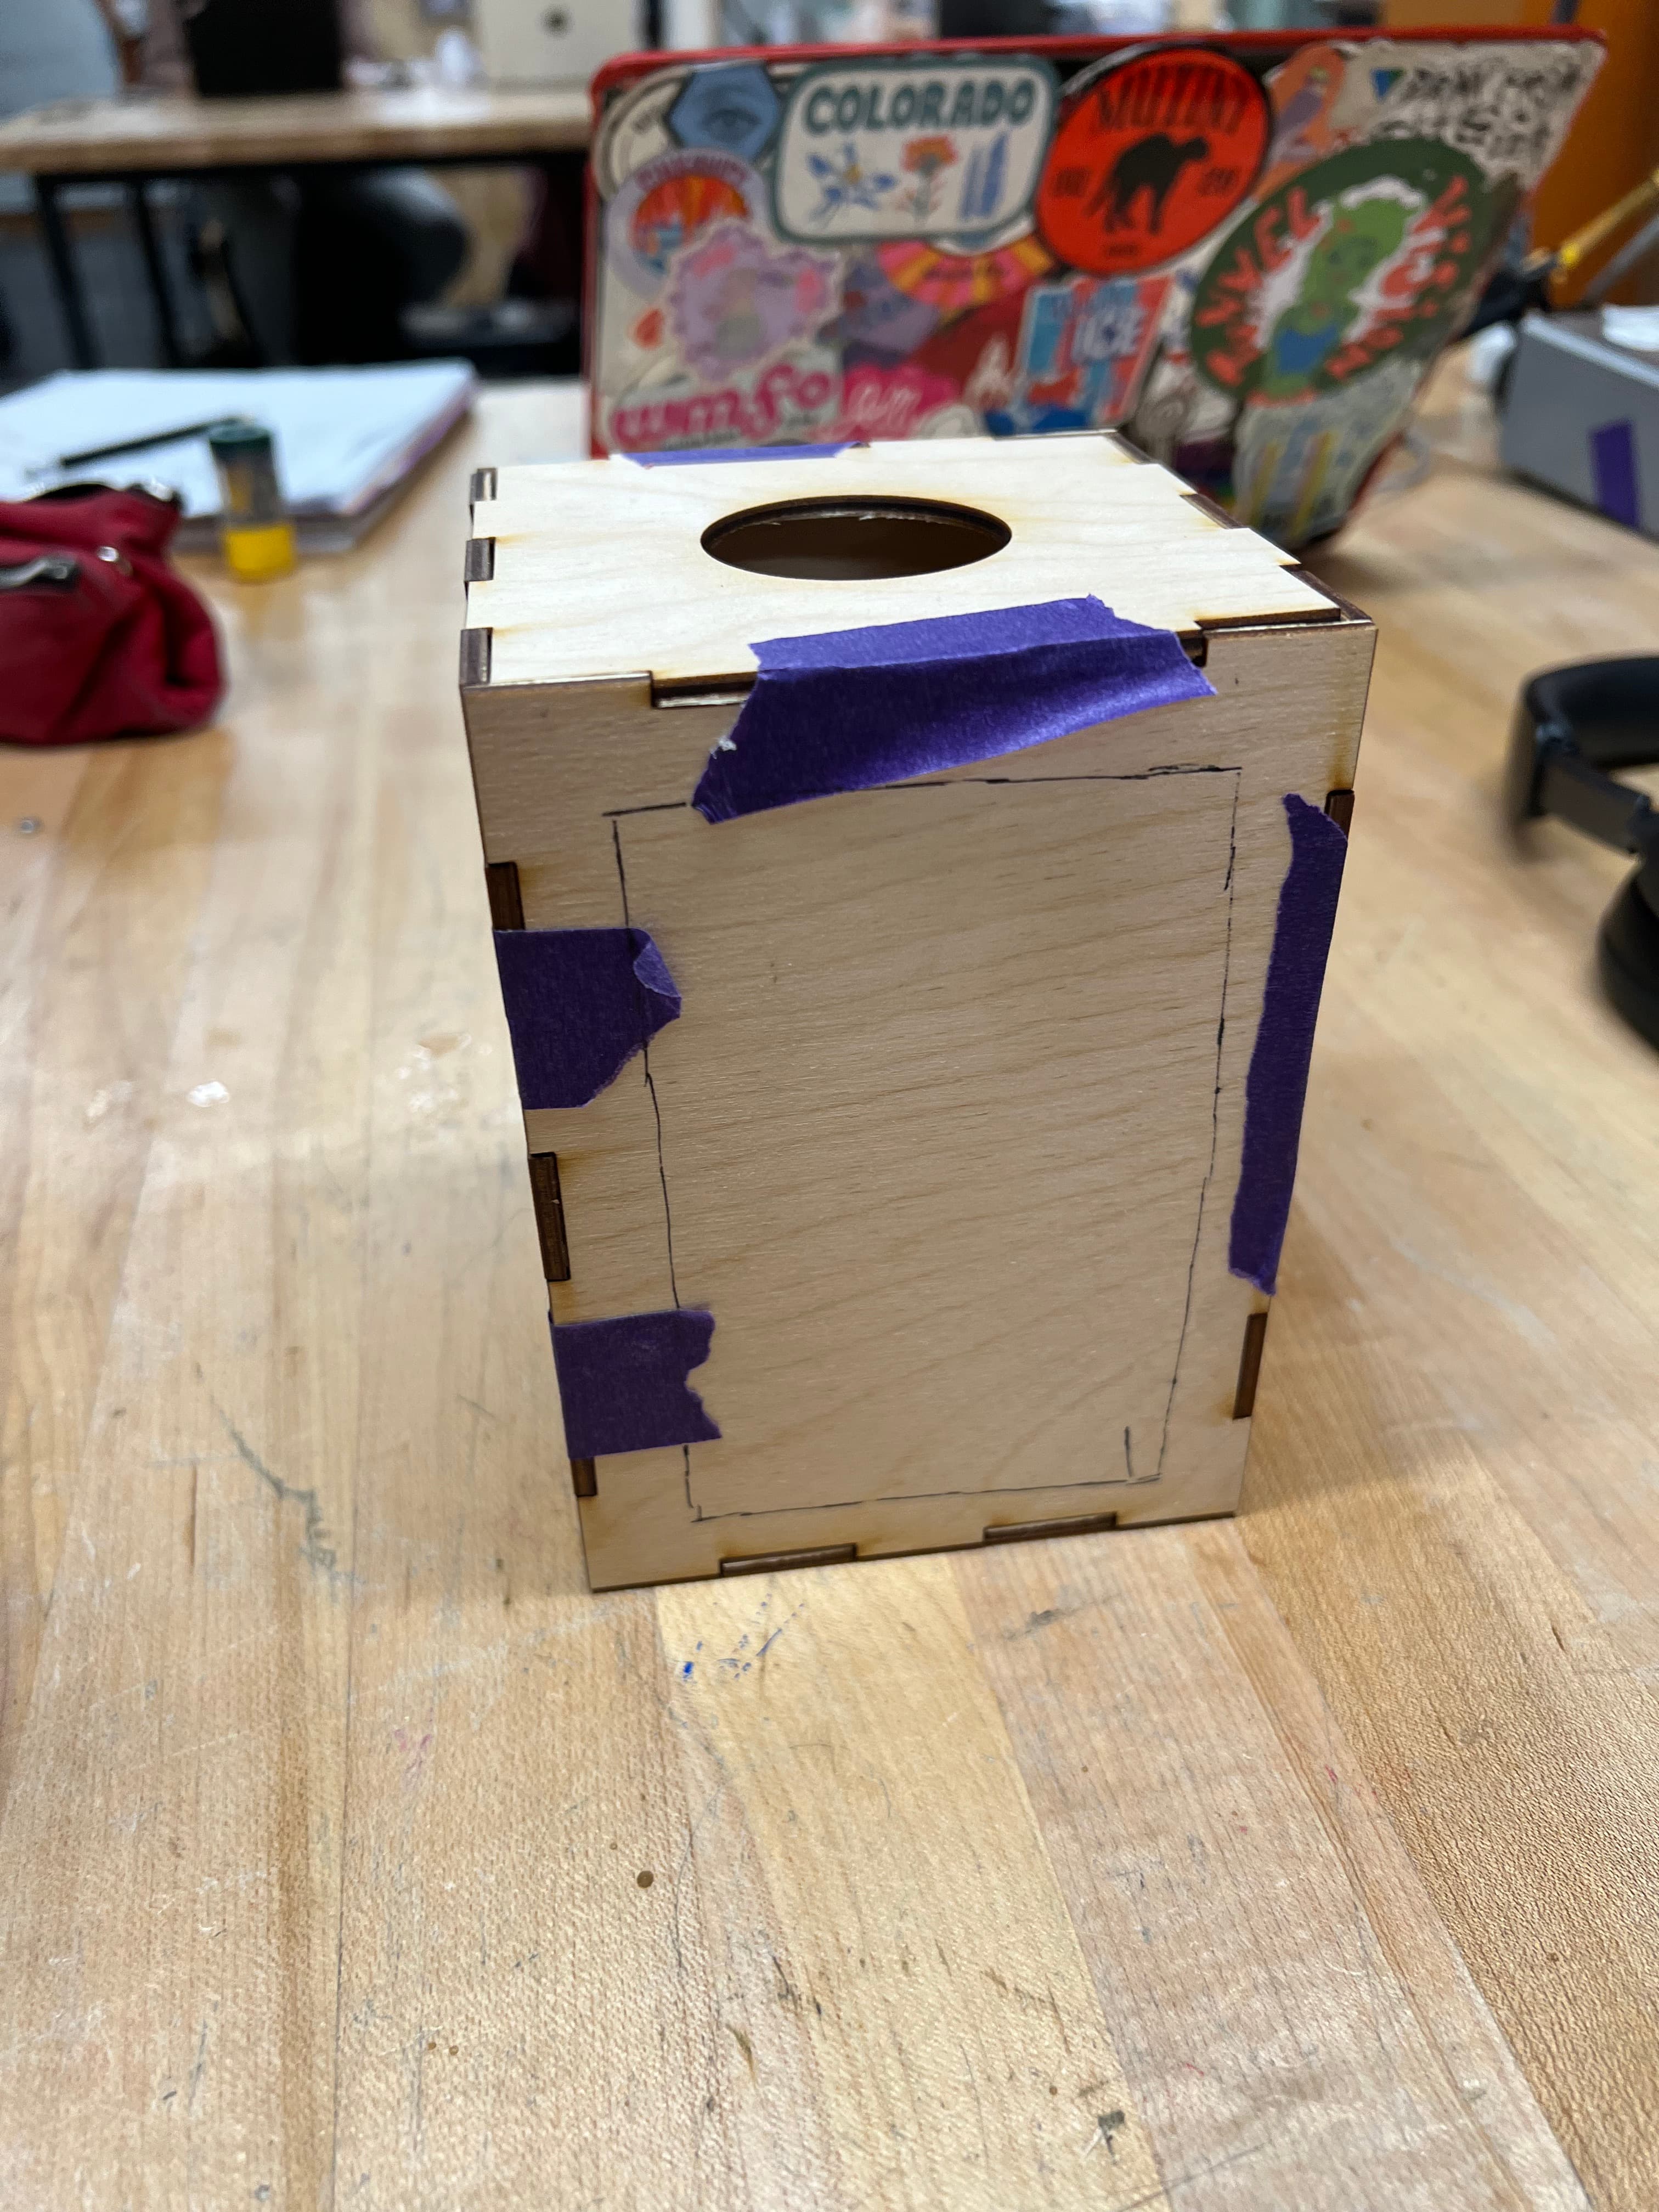
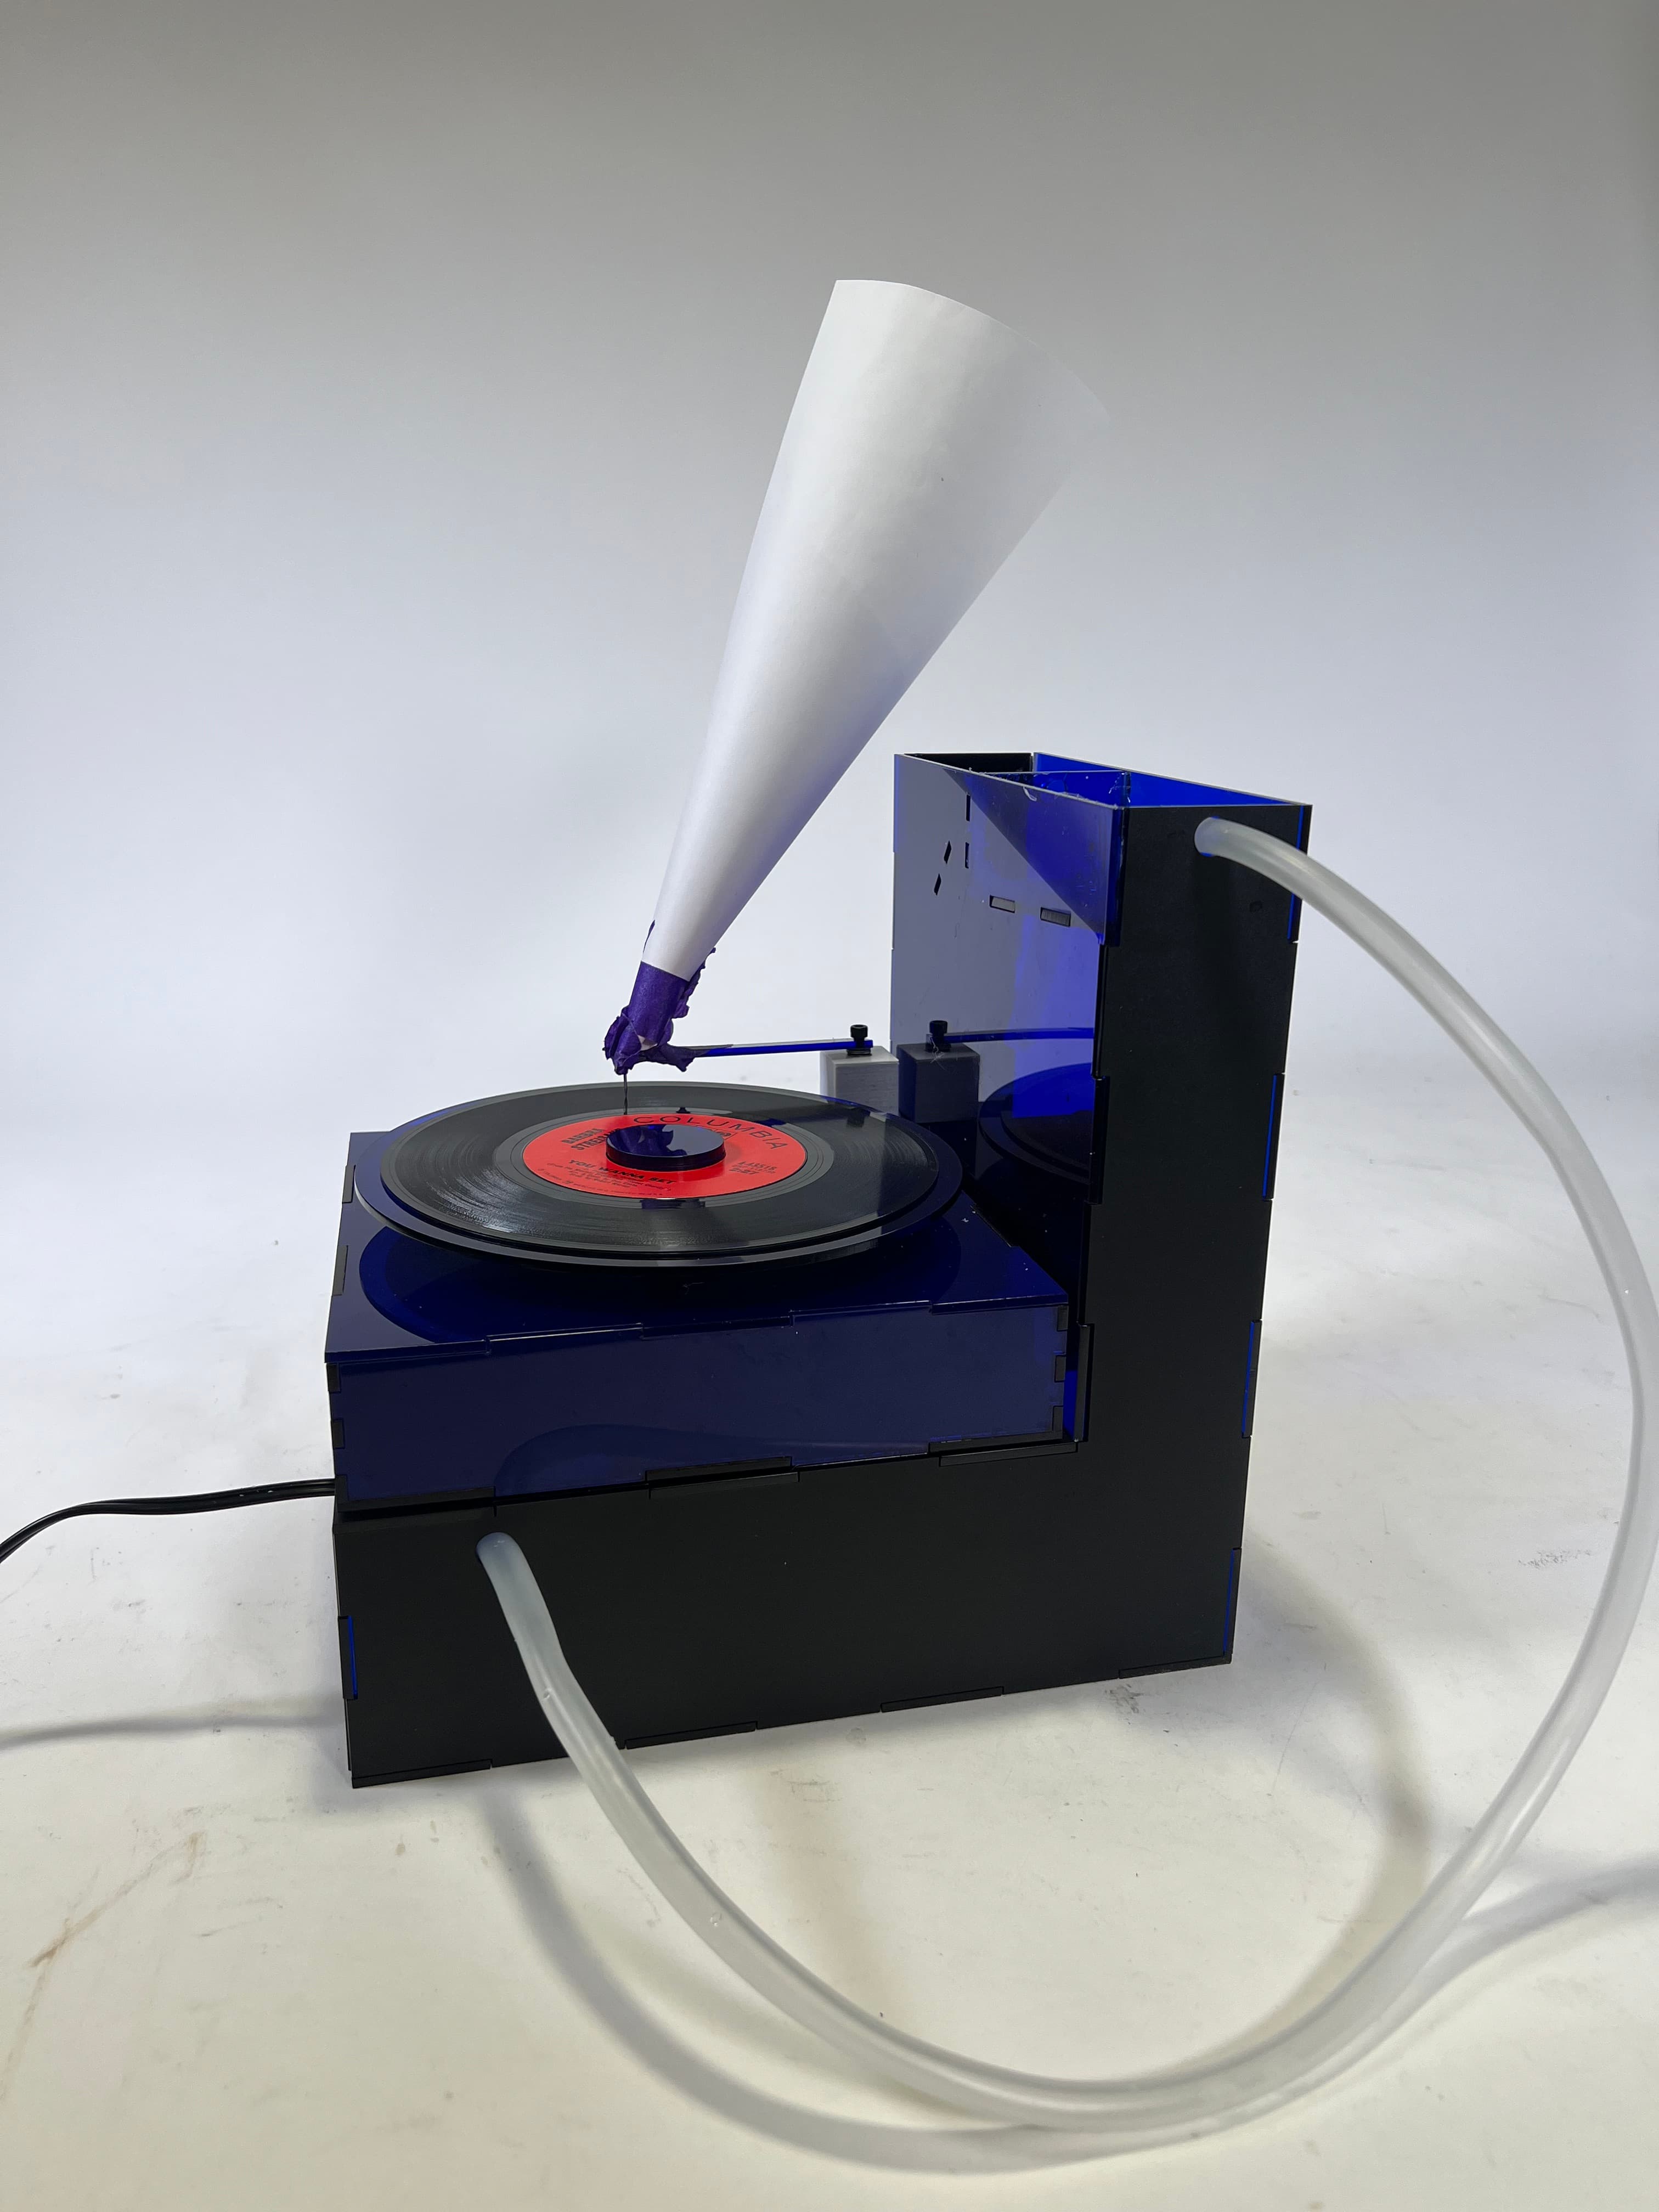
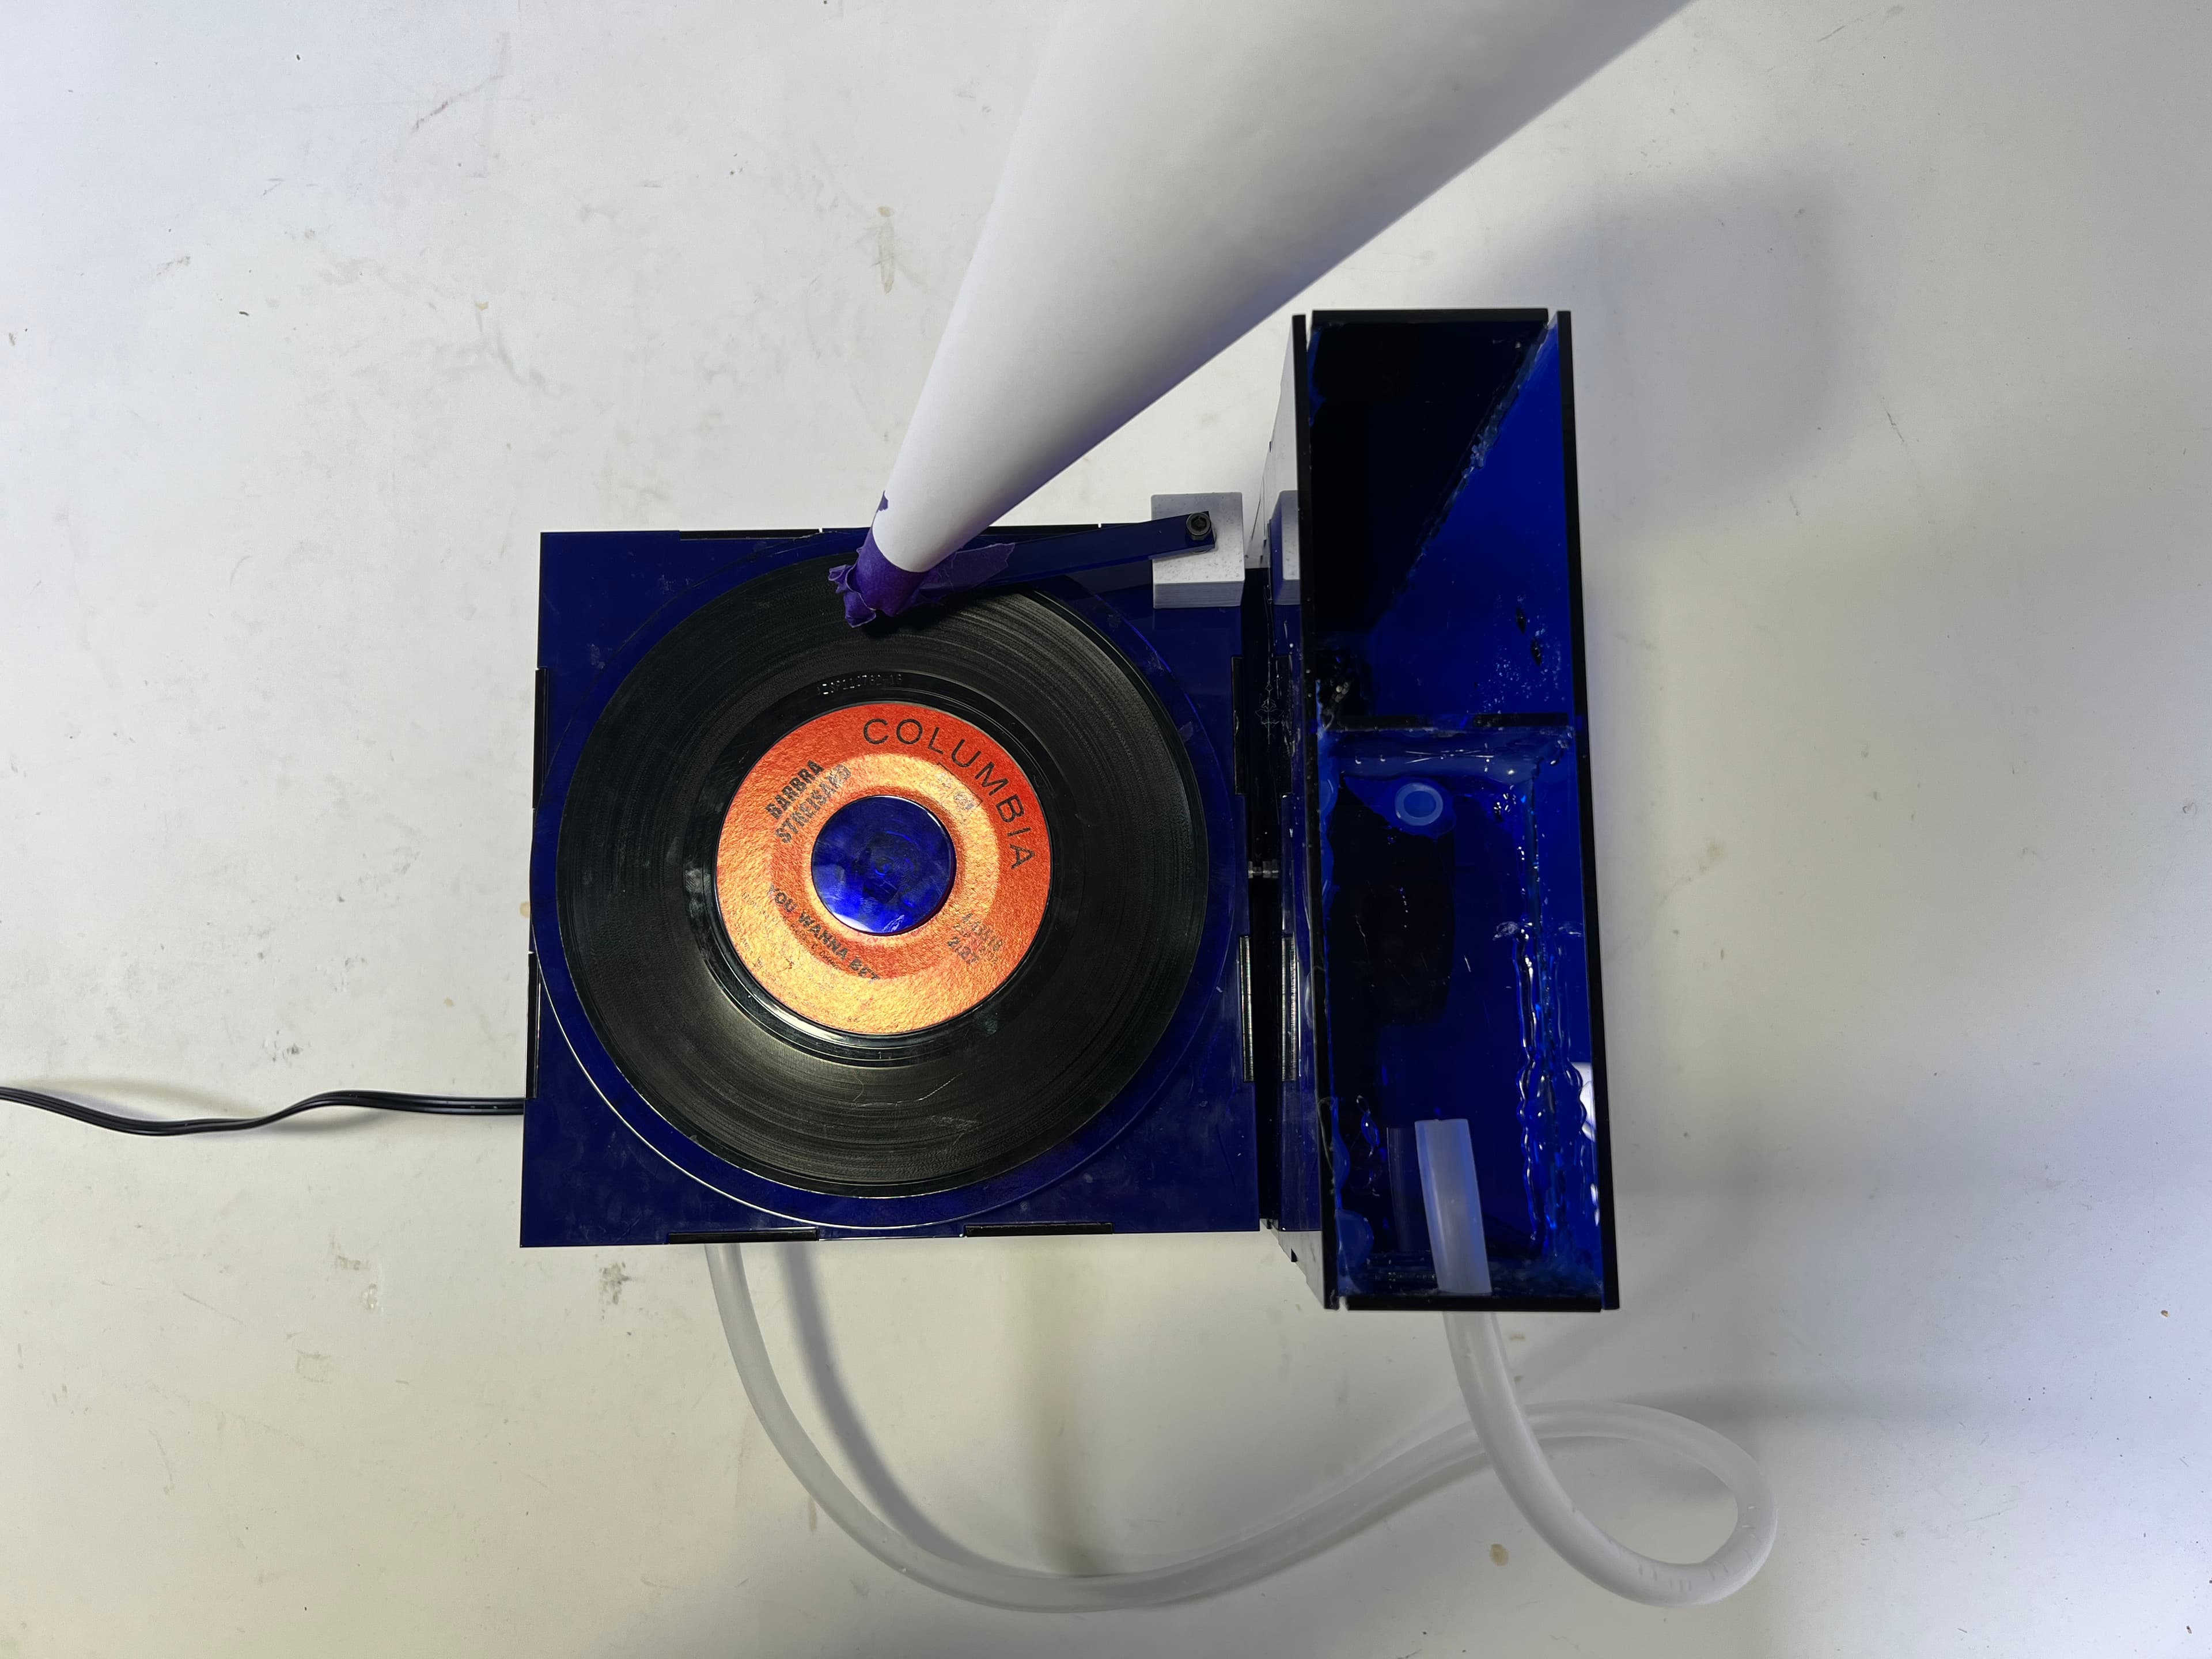
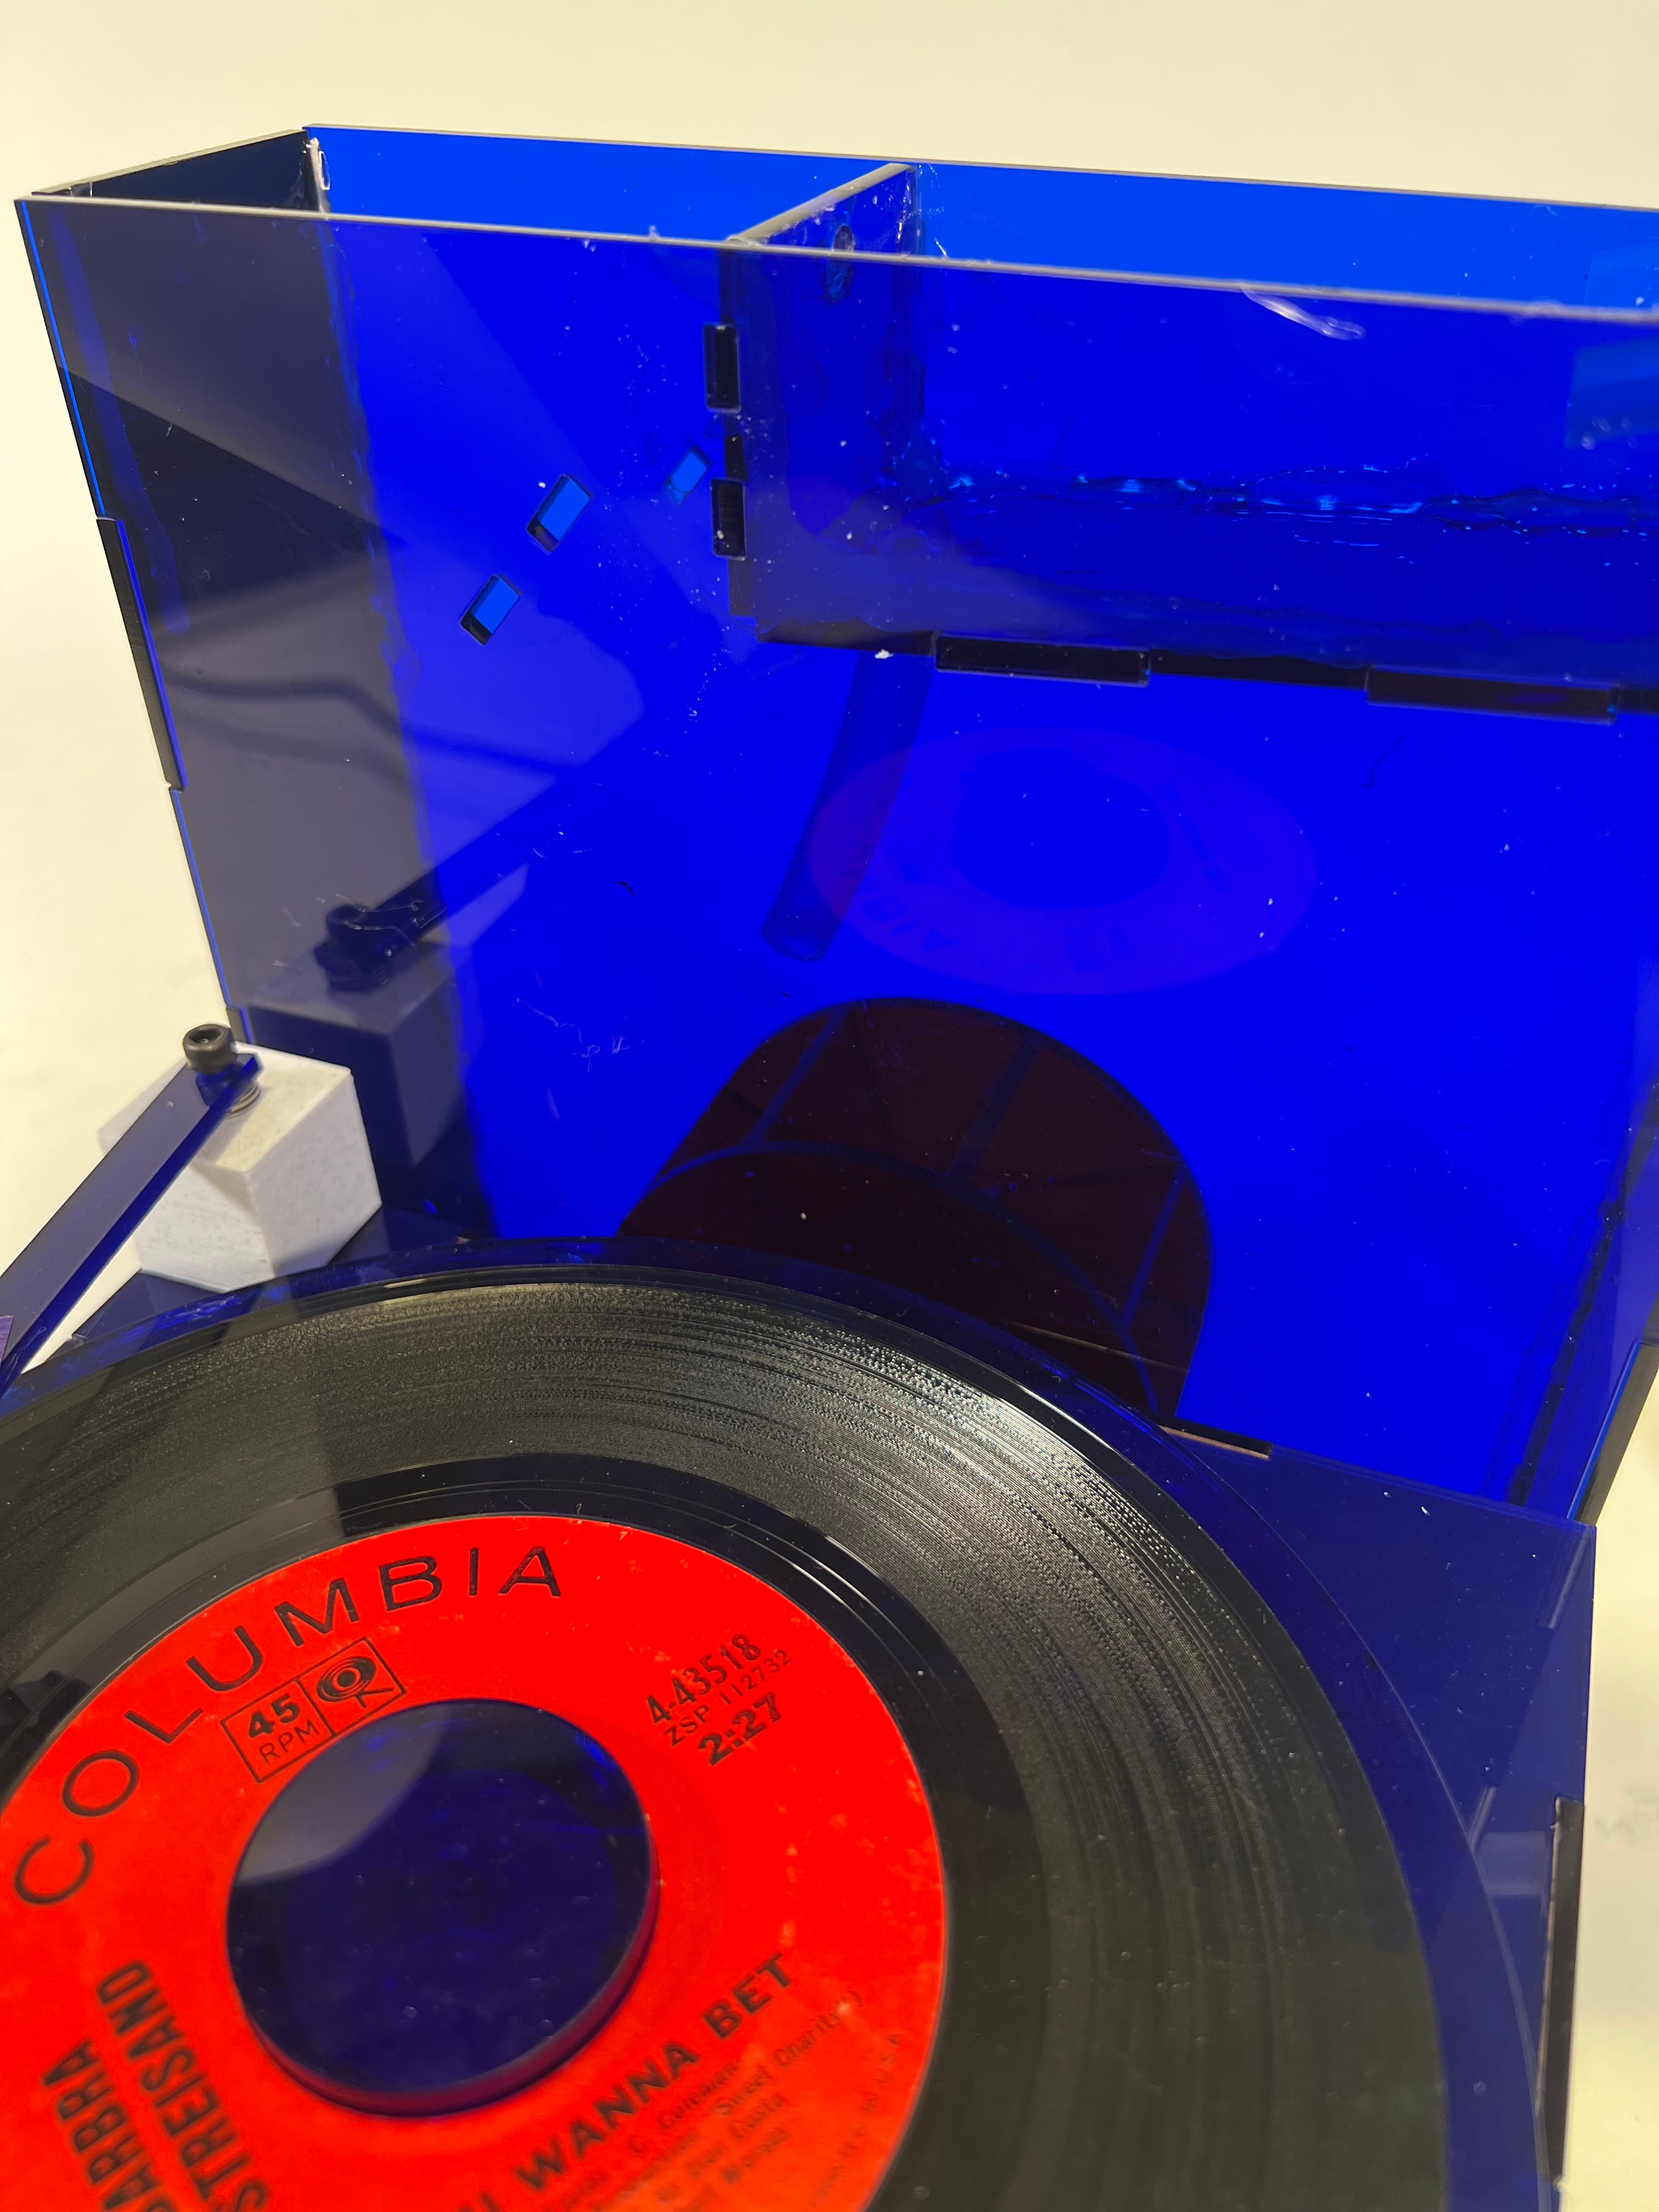
Gravity Powered Record Player
March 2025
The goal of this project was to use some sort of gravity powered mechanism to spin a record player. The record player had to spin a 7 inch record at 45rpm, for 4 and a half minutes. I wanted to create something that was both functional and aesthetically pleasing, while also being a fun challenge to build. There were a couple routes that I considered taking - a weight falling to spin an axel, some sort of perpetual motion machine, marbles falling down a track, or a water wheel, to name a few. I ended up going the water wheel route, I felt like it would be easy to adjust the speed of the water wheel by tweaking the volume of water and the distance the water is falling. I started by designing the water wheel in Onshape to confirm a proof of concept. I laser cut the wheel out of acryllic for quick assembly, and verified that it could spin pretty quickly under a slow water stream from the sink. I created the chasis of the record player out of laser cut acryllic as well. Because my record player is water powered, I decided to buy a cheap water pump on Amazon so I can have a constant flow of water. This seems anti gravity powered, but I implemented it in the name of water conservation. The pump dropped off water into a basin at the top, so the flow from the pump wasn't actually what was powering the wheel, it was purely there for preservation purposes. A big tank at the top would have had the same effect. The chasis of the record player is comprised of this lower level water tank which has the pump, and the water fall area with the water wheel. The water wheel is attached to a drive shaft which runs through the box and is converted into vertical rotational movement with a 3D printed miter gear. The needle and speaker components were a bit of an after thought, since it is hard to design and create a proper amplifier with the materials on hand. The arm of the needle is laser cut and mounted onto a swivel point so the needle can follow the grooves of the record. The vibrations are amplified through a paper cone, simply taped to the needle arm. The quality of the audio is admittedly quite terrible.
Technologies
- Onshape/Solidworks
- Laser Cutting
- 3D Printing
Materials
- 3x 12x24 sheet of colored acryllic
- 1x 200mm x 4mm metal rod
- 2x 3D printed miter gears
- 4x 8mm OD ball bearings
- 1x PULACO Submersible Water Pump
- 1x 3D printed needle arm stand
- 1x bolt
- 1x nut
- 1x sheet of A24 paper
- Tape
- A ton of hot glue
- Silicone glue
- Needle
- 7in record
- Water
Skills
- CAD Design
- Laser Cut Assembly
- 3D Printing
- Assembly
Challenges
Assembly of the record player was the most difficult part of this project. I had to make sure that all of the elements of the drive shaft were aligned correctly before cementing them in place. The rods, holes, and bearings had to be perfectly centered in order for smooth rotation. The water wheel was also a challenge, I had to make sure that the water was flowing at the right speed and angle to get the wheel to spin at the right speed. I also had to make sure that the water was flowing evenly across the wheel, otherwise it would spin unevenly and cause the record to skip.
More Pictures
Stay Tuned for More!
I’ll keep this page updated with future projects as I progress through the course. Check back regularly to see what’s new, or reach out if you’d like to chat about my work.